
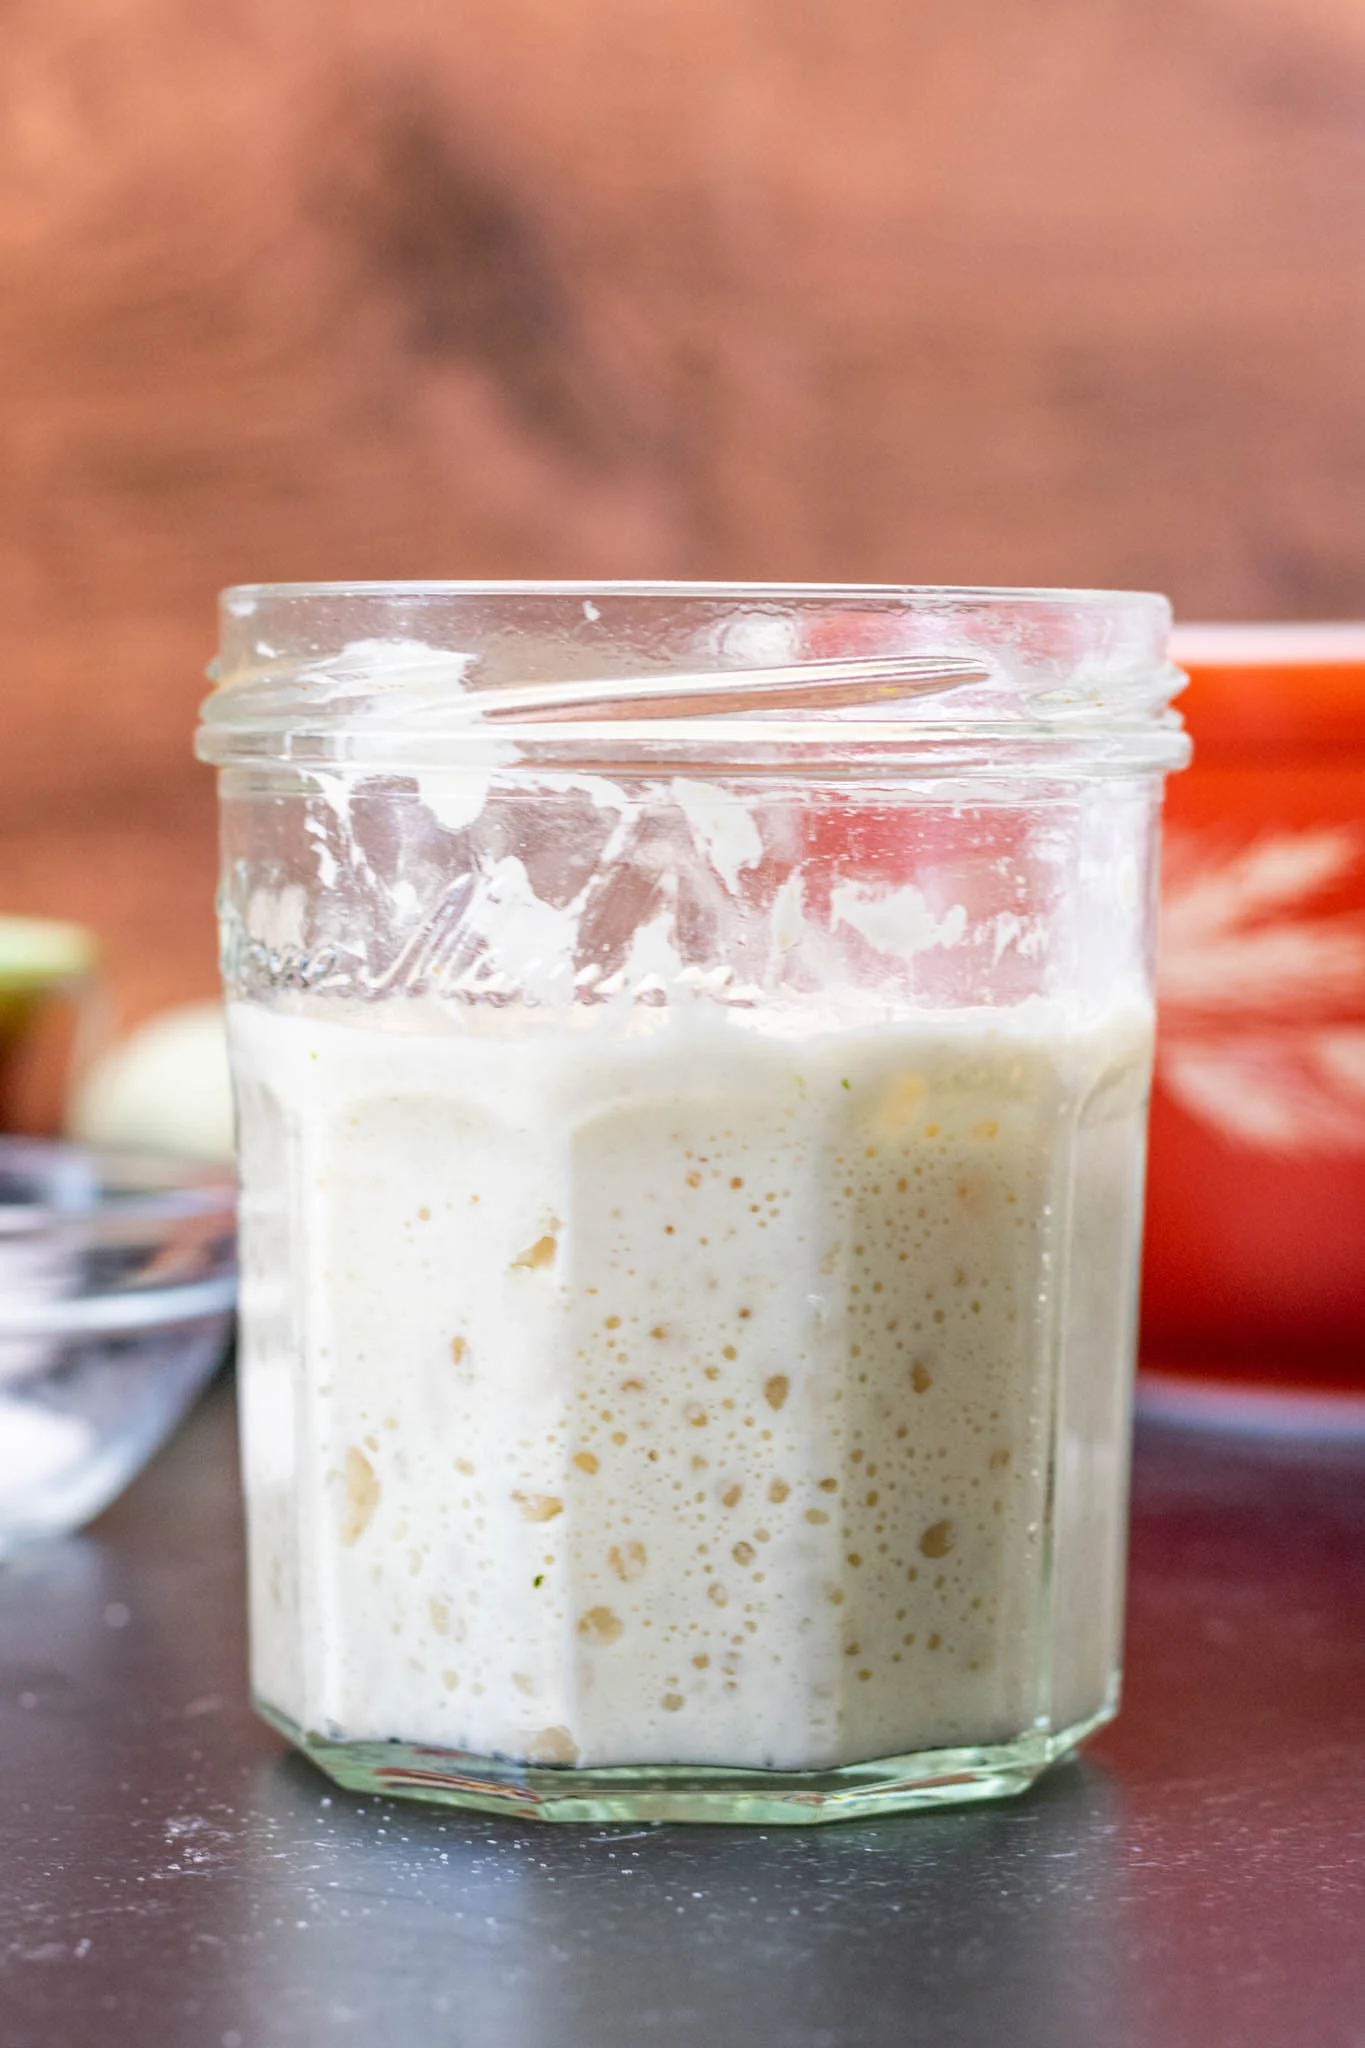
1. Use Quality Flour
The flour you choose plays an important role in starter health. Fresh, high-quality flour contains more nutrients that support wild yeast and beneficial bacteria.
For starting or strengthening a sourdough culture, many bakers prefer:
- Whole wheat flour
- Rye flour
- Organic unbleached flour
- Freshly milled flour
Whole grain flours are especially helpful because they contain more natural minerals and microorganisms that encourage fermentation.
Once your starter is strong, you can maintain it with bread flour, all-purpose flour, or a blend of different flours.
2. Keep a Consistent Feeding Schedule
A sourdough starter is a living culture that needs regular feeding. Consistency helps maintain a balanced environment where yeast and bacteria can thrive.
For a room-temperature starter:
- Feed every 12–24 hours depending on activity
- Feed more often in warmer kitchens
- Feed less frequently when stored in the refrigerator
A neglected starter may become overly acidic, sluggish, or develop unpleasant smells.
Regular feeding keeps your starter predictable and ready for baking.
3. Maintain the Right Feeding Ratio
The feeding ratio determines how quickly your starter ferments.
A common maintenance ratio is:
1:2:2
Example:
- 10 g starter
- 20 g water
- 20 g flour
This gives the starter enough fresh food while keeping the amount manageable.
For a slower fermentation or longer time between feedings, use a larger ratio:
1:3:3 or 1:5:5
A larger feeding ratio provides more food and extends the time before the starter peaks.
4. Keep Your Starter at the Right Temperature
Temperature has a major effect on sourdough activity.
Ideal temperature range:
24–28°C (75–82°F)
A warmer environment encourages faster fermentation, while cooler temperatures slow it down.
If your starter is moving too quickly:
- Use cooler water
- Feed a larger ratio
- Move it to a cooler area
If your starter is slow:
- Place it somewhere warmer
- Use slightly warmer water
- Add some whole grain flour
5. Learn to Recognize When Your Starter Is Ready
A starter is ready to use when it reaches peak activity.
Look for:
- Doubled or significantly increased volume
- Lots of bubbles throughout
- A rounded or slightly domed top
- A pleasant fermented aroma
- A light, airy texture
The best time to use your starter is usually when it is at or near its highest rise before it begins falling.
6. Use a Clean Jar and Track Growth
A clean jar makes it easier to monitor your starter’s progress and prevents unwanted contamination.
Helpful habits:
- Use a clean glass jar
- Scrape down the sides after feeding
- Mark the starting level with a rubber band
- Replace the jar regularly if buildup occurs
Tracking the rise helps you understand your starter’s timing and strength.
7. Do Not Keep Too Much Starter
Many beginners maintain far more starter than they need.
A smaller starter is easier to manage and creates less waste.
For regular home baking, you can maintain:
- 20–50 g starter for occasional baking
- 50–100 g starter for frequent baking
Before baking, simply feed your starter a larger amount to build the quantity needed for your recipe.
8. Do Not Judge Your Starter Only by Smell
Sourdough starters naturally develop different aromas throughout fermentation.
Normal smells include:
- Mild sourness
- Yogurt-like notes
- Fruity aromas
- Slight vinegar-like acidity
A strong sour smell usually means the starter needs feeding.
However, if you notice unusual colors, mold, or signs of contamination, it is best to discard and start fresh.
9. Give Your Starter Time to Develop
A new sourdough starter requires patience.
During the first days, activity may appear inconsistent. It is normal for a starter to:
- Bubble and then slow down
- Rise quickly at first and then become quiet
- Take time to establish a stable rhythm
A mature starter often becomes more reliable after several weeks of regular feeding.
Remember that sourdough is a natural fermentation process, and each starter develops its own personality.
10. Store Your Starter Properly
Choose a storage method based on how often you bake.
If You Bake Daily
Keep your starter at room temperature and feed regularly.
If You Bake Weekly
Store your starter in the refrigerator and refresh it before baking.
If You Need a Break
A healthy starter can be stored in the refrigerator for longer periods and revived with several feedings when needed.
Proper storage makes sourdough baking flexible and convenient.
Bonus Tips for Stronger Sourdough Starter
Use Filtered Water If Needed
Some heavily treated tap waters may slow fermentation. Filtered water can help maintain a healthy culture.
Keep Notes
Record:
- Feeding times
- Flour types
- Room temperature
- Rise times
This helps you understand your starter’s behavior.
Feed Before It Becomes Completely Hungry
A starter performs best when it is regularly refreshed before it becomes overly acidic.
Adjust Based on Your Environment
Every kitchen is different. Temperature, humidity, flour, and feeding routine all affect fermentation.
Frequently Asked Questions
How long does it take to create a sourdough starter?
A new starter usually takes about 7–14 days to become active, although some take longer depending on conditions.
How often should I feed my sourdough starter?
A counter starter usually needs daily feeding, while a refrigerated starter may only need feeding every 1–2 weeks.
Can I save a weak starter?
Yes. A weak starter can often be strengthened by regular feeding, warmer temperatures, and using nutrient-rich flour.
Why is my starter not doubling?
Possible reasons include:
- Weak starter
- Cold environment
- Inconsistent feeding
- Using too much old starter compared to fresh flour and water
Give it time and adjust your feeding routine.
Final Thoughts
A successful sourdough starter is built through patience, observation, and consistency. You do not need complicated techniques or expensive equipment—just flour, water, and a little care.
By following these 10 sourdough starter tips, you can create a strong and reliable culture that will help you bake delicious homemade sourdough bread and many other naturally fermented recipes for years to come.
