
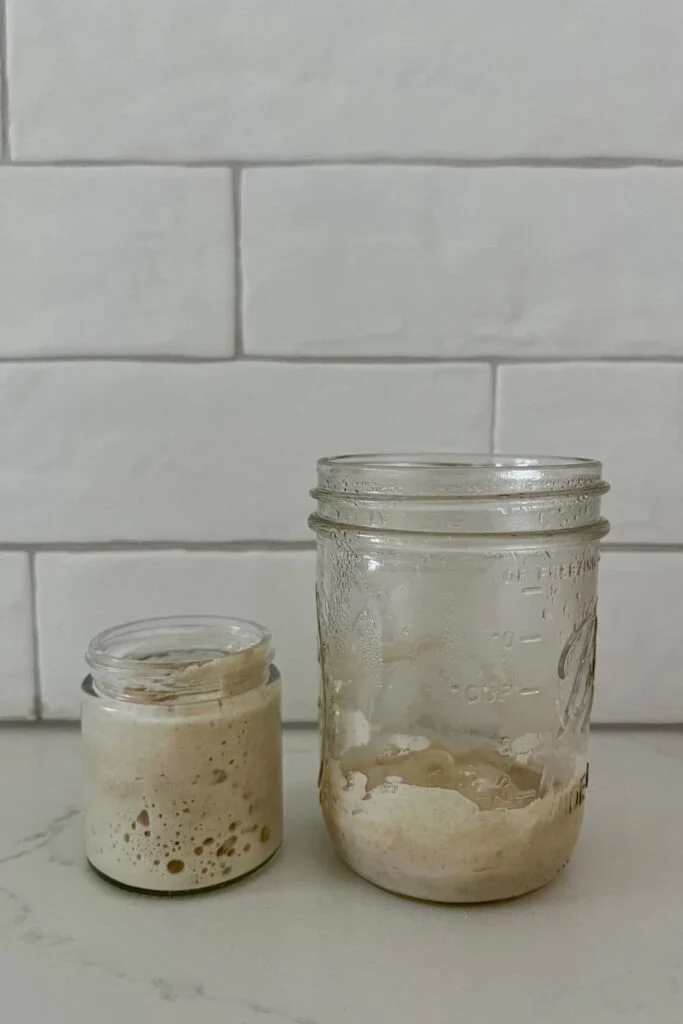
Prep Time: 5 minutes per feeding
Fermentation Time: 5–10 days
Yield: Small starter (about 100 grams)
Ingredients
Day 1
- 25 grams whole wheat flour
- 25 grams all-purpose flour
- 50 grams room-temperature water
Equipment
- Small glass jar (8–16 ounces)
- Kitchen scale
- Spoon or silicone spatula
- Loose-fitting lid or cloth cover
- Rubber band (optional, to mark growth level)
Instructions
Day 1: Mix the Starter
In a clean jar, combine:
- 25 grams whole wheat flour
- 25 grams all-purpose flour
- 50 grams water
Stir until no dry flour remains.
The mixture should have a thick, paste-like consistency.
Scrape down the sides of the jar.
Cover loosely with a lid or cloth.
Place the jar in a warm spot at room temperature.
Ideal temperature:
70–78°F (21–26°C)
Day 2: Check for Activity
You may notice:
- Small bubbles
- A slightly sour smell
- Little or no visible growth
This is normal.
Do not worry if nothing seems to happen yet.
Feed the starter:
- 25 grams starter
- 25 grams flour
- 25 grams water
Mix well and cover again.
Days 3–5: Build Strength
Continue feeding every 24 hours.
Each day:
- Keep 25 grams of starter.
- Add:
- 25 grams flour
- 25 grams water
- Mix thoroughly.
During this stage, your starter may:
- Bubble actively
- Rise and fall quickly
- Smell fruity, sour, or yeasty
It may also appear less active for a day or two. This is part of the natural fermentation process.
Days 5–10: Mature the Starter
Continue the daily feeding schedule.
Your starter is becoming ready when it:
✓ Doubles in size after feeding
✓ Has many bubbles throughout
✓ Smells pleasantly sour
✓ Rises predictably within several hours
✓ Looks thick and airy at its peak
A new starter often needs 1–2 weeks before it becomes strong enough for reliable bread baking.
Small Sourdough Starter Feeding Recipe
Daily Maintenance Feeding
Ingredients:
- 25 grams active starter
- 25 grams all-purpose flour
- 25 grams bread flour or whole wheat flour
- 25 grams water
Instructions
- Discard all but 25 grams of starter.
- Add flour and water.
- Stir until smooth.
- Scrape down the jar.
- Mark the starting level.
- Cover loosely.
- Let ferment until doubled.
How to Maintain Your Starter
If You Bake Frequently
Keep your starter at room temperature.
Feed:
Every 24 hours
Recommended ratio:
- 1 part starter
- 1 part flour
- 1 part water
Example:
- 25g starter
- 25g flour
- 25g water
If You Bake Occasionally
Store your starter in the refrigerator.
Feed:
Once every 1–2 weeks
Before baking:
- Remove starter from the refrigerator.
- Let it warm up.
- Feed it once or twice.
- Wait until it becomes bubbly and active.
How To Use Your Starter For Baking
A mature starter is ready when it reaches peak activity.
Look for:
- A doubled size
- A rounded top
- Lots of bubbles
- A pleasant fermented aroma
Use it in recipes such as:
- Sourdough country loaf
- Sourdough sandwich bread
- Sourdough pancakes
- Sourdough pizza dough
- Sourdough focaccia
- Sourdough cinnamon rolls
How Much Starter Should You Keep?
Keeping a small starter helps reduce waste.
A simple maintenance amount:
- 25g starter
- 25g flour
- 25g water
This gives you enough starter for everyday baking while requiring minimal flour.
When you need more starter for a recipe, simply increase the feeding amount.
Example:
To make 150g starter:
- 50g starter
- 50g flour
- 50g water
Allow it to rise until active before using.
Troubleshooting Your Starter
My Starter Has No Bubbles
Possible reasons:
- It is still young
- Room temperature is too cold
- It needs more time
Solution:
Continue daily feedings and keep it somewhere warmer.
My Starter Smells Bad
A healthy starter may smell:
- Sour
- Fruity
- Yeasty
- Slightly acidic
If it smells unpleasant or shows mold, it should be discarded.
My Starter Rises Then Stops
This is normal during early development.
Continue feeding consistently until the yeast population becomes stronger.
My Starter Is Too Thin
Add slightly more flour during feeding until it reaches a thick batter-like consistency.
Tips for a Strong Sourdough Starter
- Use whole wheat or rye flour when starting because it contains more nutrients.
- Use filtered or chlorine-free water when possible.
- Keep the jar clean to prevent unwanted bacteria.
- Feed consistently during the first week.
- Avoid keeping too much starter unless you bake often.
- Store your starter in a warm, stable location.
- Patience is the secret—natural fermentation takes time.
Storage & Long-Term Care
A well-maintained sourdough starter can last for years.
Refrigerator Storage
- Feed every 1–2 weeks.
- Keep covered but not completely sealed.
- Refresh before baking.
Room Temperature Storage
- Feed daily.
- Keep in a warm area.
- Use regularly.
Recipe Notes
- A small starter is ideal for beginners because it uses less flour and creates less discard.
- You can switch flour types gradually without harming your starter.
- If you need extra starter for baking, build it up with larger feedings the day before.
- Consistency matters more than perfection—every starter develops its own smell, timing, and personality.
- With regular care, your small sourdough starter can become the foundation for endless homemade bread recipes.
