
Ingredients
To Start
- 60g (½ cup) whole wheat flour
- 60g (¼ cup) filtered or non-chlorinated water, room temperature
For Daily Feedings
- 60g (½ cup) unbleached all-purpose flour or bread flour
- 60g (¼ cup) filtered or non-chlorinated water
Equipment
- 1 large glass jar (1-quart or larger)
- Kitchen scale (recommended)
- Silicone spatula or wooden spoon
- Loose-fitting lid or clean kitchen towel
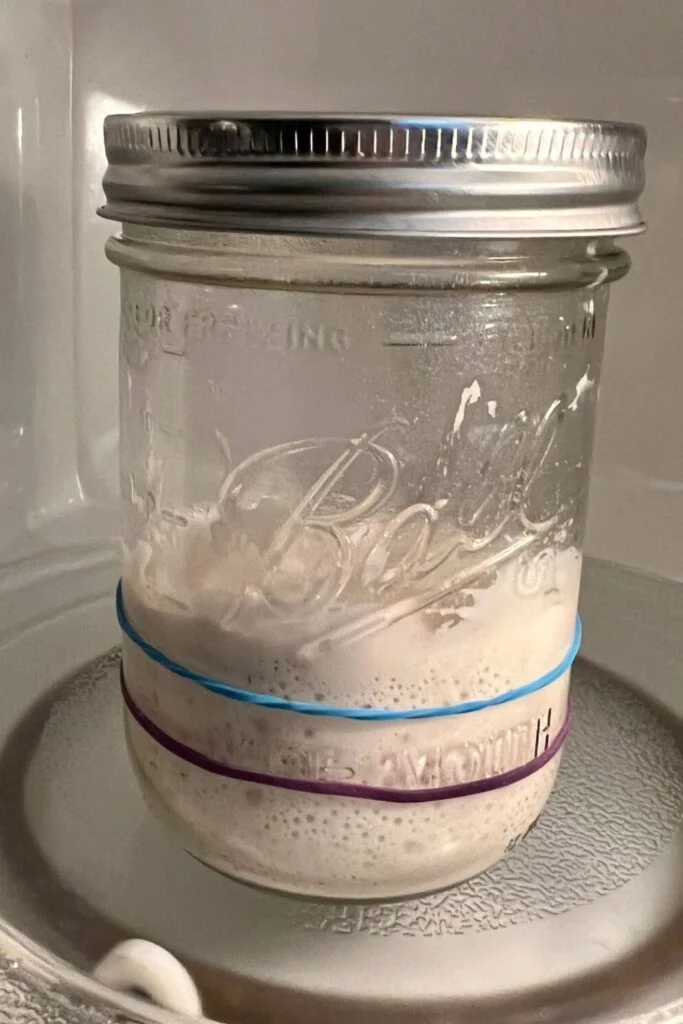
- Rubber band or marker to track growth
Instructions
Day 1: Make the Starter
In a clean glass jar, combine the whole wheat flour and filtered water.
Stir until no dry flour remains and a thick batter forms.
Scrape down the sides of the jar.
Cover loosely with a lid or clean kitchen towel and leave at room temperature (70–75°F / 21–24°C) for 24 hours.
Day 2: First Feeding
You may notice a few bubbles or a mild sour aroma.
Discard about half of the starter.
Add:
- 60g flour
- 60g water
Mix thoroughly, cover loosely, and let rest for another 24 hours.
Days 3–5: Continue Feeding
Each day:
- Discard half of the starter.
- Feed with:
- 60g flour
- 60g water
As the days pass, the starter should begin showing:
- More bubbles throughout
- A pleasant tangy aroma
- Noticeable rise after feeding
- A lighter, airy texture
Don’t worry if activity slows briefly around Day 3 or 4—this is a normal part of the fermentation process.
Days 6–7: Strengthen the Starter
Continue the daily feeding routine.
By now, your starter should consistently:
- Double in size within 4–8 hours after feeding
- Have plenty of bubbles
- Smell pleasantly sour, yeasty, or slightly fruity
- Feel light and airy
If it hasn’t reached this stage yet, continue feeding for a few more days.
Step 7: Test for Readiness
To check if your starter is ready for baking, perform the float test.
Drop a small spoonful of active starter into a glass of room-temperature water.
If it floats, it’s ready to use.
If it sinks, continue feeding daily until it becomes stronger and more active.
Feeding an Active Starter
Room Temperature
If you bake frequently, keep the starter at room temperature and feed it every 24 hours.
Refrigerator
If you bake occasionally, store the starter in the refrigerator and feed it once every 7 days.
Before baking, remove it from the refrigerator and feed it once or twice until it becomes bubbly and doubles in size.
Tips for the Best Sourdough Starter
- Use filtered or dechlorinated water for the best fermentation.
- Whole wheat or rye flour helps jump-start fermentation because it contains more natural yeast and nutrients.
- Keep the starter in a warm location between 70–75°F (21–24°C).
- Weigh ingredients with a kitchen scale for consistent results.
- Use a clean jar and utensils for every feeding.
- Stir thoroughly to incorporate oxygen, which encourages healthy yeast growth.
- Be patient—some starters take up to 10 days to become fully active.
Troubleshooting
Starter Isn’t Rising
- Move it to a warmer location.
- Continue feeding consistently.
- Switch to whole wheat or rye flour for a few feedings.
Gray Liquid (Hooch)
A layer of liquid means your starter is hungry.
Pour it off or stir it back in, then feed the starter.
Pink, Orange, or Moldy Starter
Discard it immediately and start over, as it is no longer safe to use.
Strong Sour Smell
A tangy, yeasty, or slightly fruity smell is completely normal.
Only discard the starter if it develops mold or a foul, rotten odor.
Ways to Use Sourdough Starter
Once active, your starter can be used to make:
- Artisan sourdough bread
- Sandwich bread
- Pizza dough
- Bagels
- English muffins
- Cinnamon rolls
- Dinner rolls
- Pancakes
- Waffles
- Crackers
- Biscuits
- Pretzels
- Focaccia
- Breadsticks
Storage
Room Temperature
Store loosely covered and feed every 24 hours if baking regularly.
Refrigerator
Keep covered in the refrigerator and feed once a week.
Long-Term Storage
Spread a thin layer of active starter onto parchment paper and allow it to dry completely. Break it into flakes and store them in an airtight container in a cool, dry place for up to 12 months. Rehydrate with water and flour when you’re ready to bake again.
