
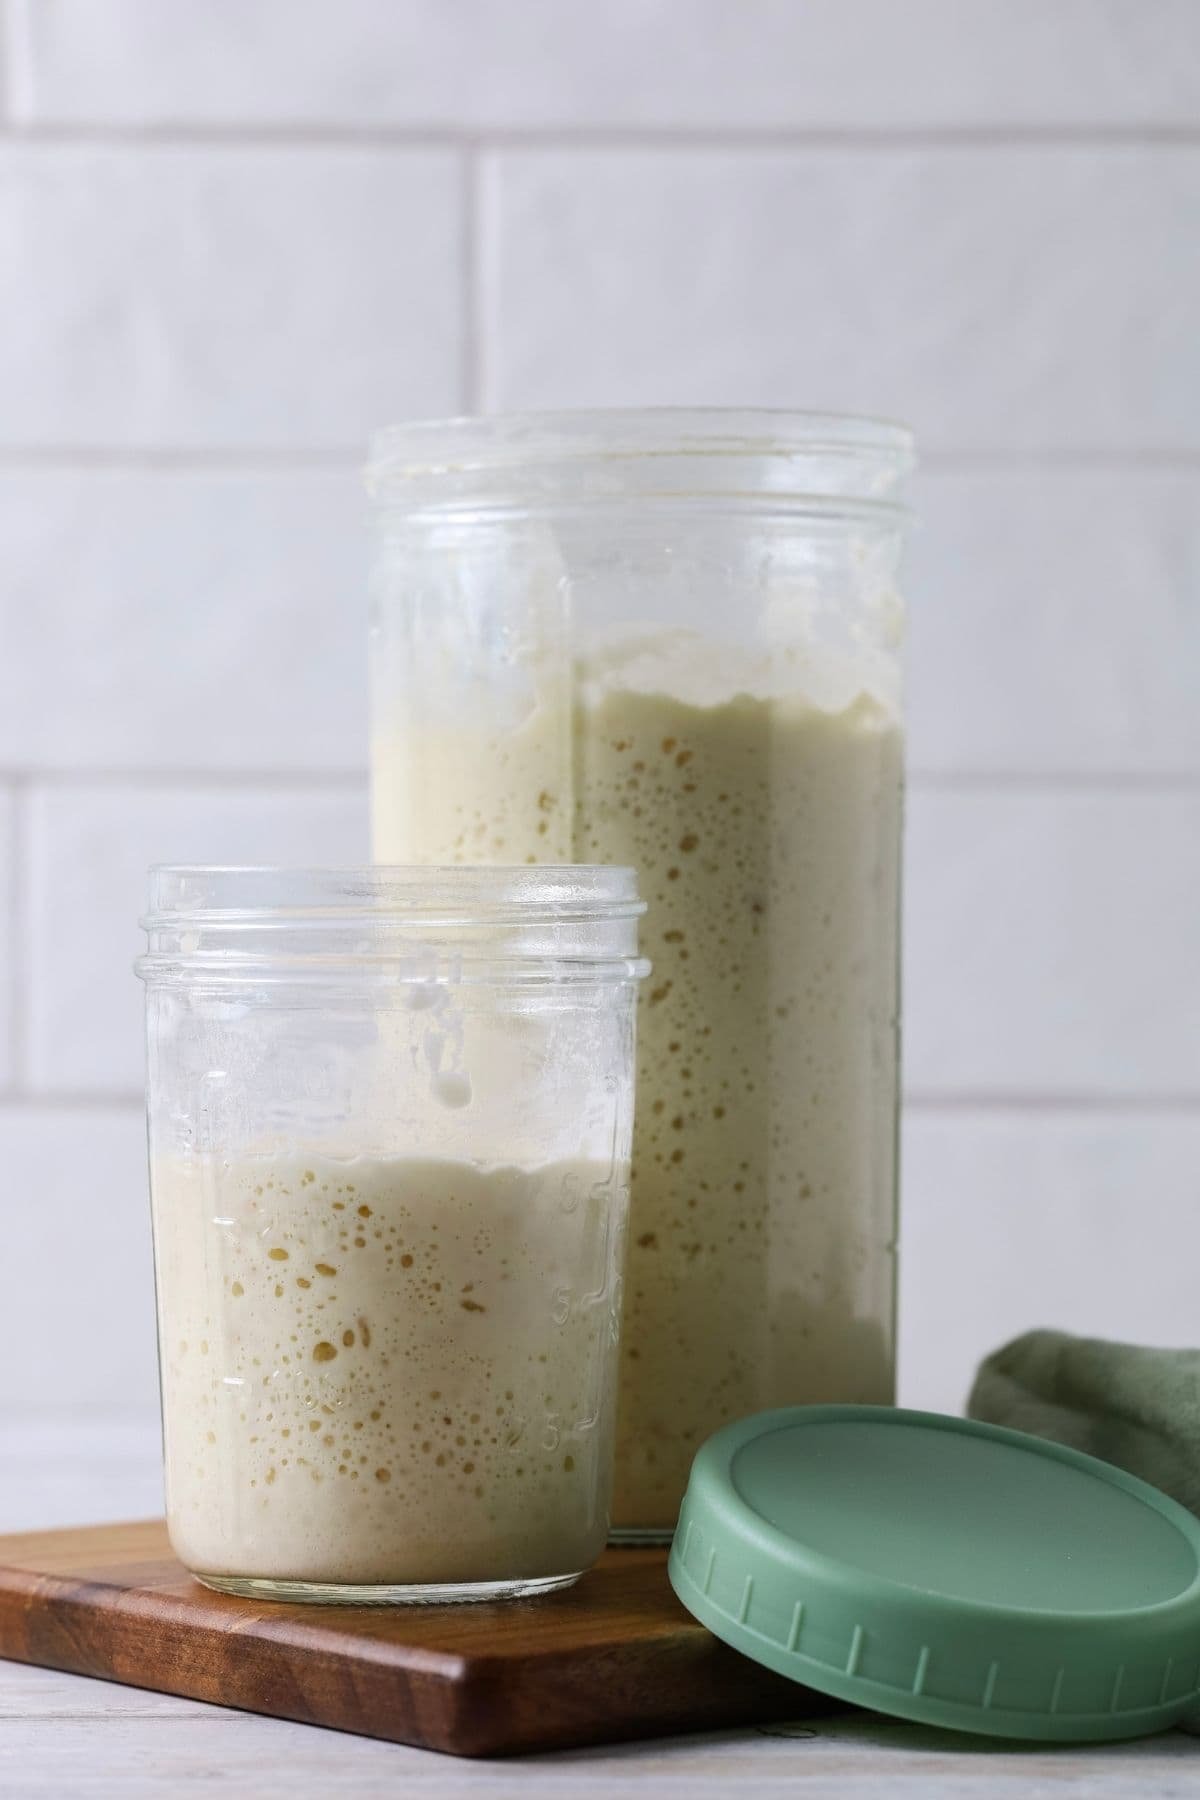
Why Increase Your Starter?
- Prepare enough starter for multiple loaves of bread
- Bake larger batches for holidays or gatherings
- Make several sourdough recipes at once
- Share starter with family and friends
- Maintain a healthy, vigorous starter
- Reduce waste by planning feedings around your baking schedule
What You’ll Need
- Active sourdough starter
- Bread flour or unbleached all-purpose flour
- Filtered or dechlorinated water
- Digital kitchen scale
- Large glass jar or container
- Spoon or dough whisk
- Rubber band or marker to track growth
Understanding Feeding Ratios
Sourdough starters are commonly fed using ratios based on the weight of starter, flour, and water.
Some common feeding ratios include:
- 1:1:1 = 50g starter + 50g flour + 50g water
- 1:2:2 = 50g starter + 100g flour + 100g water
- 1:3:3 = 50g starter + 150g flour + 150g water
- 1:5:5 = 20g starter + 100g flour + 100g water
Higher feeding ratios provide more food for the starter, allowing it to ferment longer before reaching its peak.
Step-by-Step Instructions
Step 1: Decide How Much Starter You Need
Before feeding, calculate how much starter your recipe requires.
For example:
- One loaf of sourdough bread may need 100–150g starter.
- Two loaves may require 200–300g.
- Larger baking projects may require 400g or more.
Always prepare a little extra so you have enough to maintain your starter after baking.
Step 2: Keep a Small Seed Starter
Instead of feeding your entire jar, keep a small amount of active starter.
For example:
- 25g starter
- or 50g starter
Using a small seed starter makes it easy to build exactly the amount you need without wasting flour.
Step 3: Feed with Flour and Water
Example for building about 300g starter:
- 50g active starter
- 125g water
- 125g bread flour
Mix until no dry flour remains.
Cover the jar loosely.
Step 4: Let It Ferment
Leave the starter at room temperature.
Depending on the temperature, it usually takes:
- 4–6 hours in a warm kitchen (75–80°F / 24–27°C)
- 6–10 hours in a cooler kitchen (68–72°F / 20–22°C)
The starter should:
- Double or triple in size
- Look bubbly throughout
- Have a domed top
- Smell pleasantly tangy and yeasty
Step 5: Use at Peak Activity
For the best rise, use your starter when it reaches its highest point before it begins to fall.
A mature starter should be airy, full of bubbles, and light in texture.
Example Feeding Amounts
Build Approximately 200g Starter
- 40g starter
- 80g water
- 80g flour
Build Approximately 300g Starter
- 50g starter
- 125g water
- 125g flour
Build Approximately 500g Starter
- 50g starter
- 225g water
- 225g flour
Build Approximately 1 Kilogram Starter
Feed in two stages for the strongest activity:
First Feeding
- 50g starter
- 150g flour
- 150g water
After doubling:
Second Feeding
- Use 200g active starter
- Add 400g flour
- Add 400g water
This produces about 1 kilogram of active starter.
Tips for Successfully Increasing Your Starter
- Always use a digital scale for accurate measurements.
- Feed your starter with room-temperature, filtered water.
- Use a clean container large enough to allow the starter to triple in size.
- Mark the starting level with a rubber band to monitor growth.
- Feed only as much as you need to reduce waste.
- If your kitchen is cool, allow extra fermentation time.
- Stir thoroughly so the flour and water are fully incorporated.
Common Mistakes to Avoid
Using an Inactive Starter
Always begin with a healthy starter that has been fed recently and is consistently rising.
Feeding Too Early
Wait until the starter has peaked or nearly peaked before feeding again unless following a specific maintenance schedule.
Using Chlorinated Water
Heavy chlorine can slow fermentation. Filtered or dechlorinated water is often a better choice.
Keeping the Jar Too Small
Your starter may double or even triple in volume, so choose a container with plenty of extra space.
Guessing Measurements
Weighing ingredients gives much more consistent results than measuring by volume.
How to Know Your Starter Is Ready
Your starter is ready to bake with when it:
- Has doubled or tripled in size
- Is full of bubbles throughout
- Has a rounded, slightly domed top
- Smells pleasantly yeasty with a mild tang
- Passes the visual rise test (it has reached its peak and hasn’t begun collapsing)
Storage Tips
If you aren’t baking immediately:
- Store your mature starter in the refrigerator after feeding.
- Feed it about once a week to keep it healthy.
- Before baking again, remove it from the refrigerator and give it one or two room-temperature feedings until it becomes active.
Ways to Use Extra Sourdough Starter
If you’ve built more starter than needed, use it to make:
- Artisan sourdough bread
- Sandwich bread
- Pizza dough
- Bagels
- English muffins
- Pancakes
- Waffles
- Crackers
- Soft pretzels
- Cinnamon rolls
- Focaccia
- Biscuits
Final Thoughts
Learning how to increase your sourdough starter is a simple but valuable technique that makes baking more flexible and efficient. By understanding feeding ratios and timing your starter’s peak activity, you can easily prepare the exact amount needed for everything from a single loaf to multiple batches of bread. With a healthy, well-fed starter on hand, you’ll be ready to create delicious homemade sourdough whenever inspiration strikes.
