
Why Temperature Matters
Temperature directly affects how quickly your sourdough starter ferments.
A warm starter will:
- Rise faster
- Produce more bubbles
- Develop stronger yeast activity
- Be ready to bake with sooner
- Create more consistent bread
A cold starter will:
- Rise slowly
- Produce fewer bubbles
- Take much longer to mature
- Require longer fermentation times
Keeping your starter comfortably warm helps maintain a healthy balance between yeast and beneficial bacteria.
Ideal Temperature for a Sourdough Starter
For the best results, aim for:
- 75–82°F (24–28°C): Ideal for daily feeding and strong activity
- 68–74°F (20–23°C): Good, but fermentation will be slower
- Below 65°F (18°C): Slow fermentation and reduced activity
- Above 86°F (30°C): Can encourage excessive acidity and stress the yeast
Using a kitchen thermometer can help you monitor the environment if you’re unsure of your room temperature.
Easy Ways to Keep Your Starter Warm
1. Place It in the Oven (Turned Off)
A turned-off oven creates a protected space away from drafts.
To add gentle warmth:
- Turn the oven light on.
- Place the starter inside.
- Leave the oven door closed.
The oven light alone often keeps the temperature in the ideal range.
2. Store It on Top of the Refrigerator
The top of the refrigerator is often slightly warmer than the rest of the kitchen because of the heat released by the appliance.
This makes it a convenient place for slow, steady fermentation.
3. Use a Microwave as a Proofing Box
Do not turn the microwave on.
Instead:
- Heat a mug of water until steaming.
- Place the hot mug inside the microwave.
- Add your starter beside it.
- Close the door.
The trapped warmth and humidity create a cozy environment for fermentation.
4. Wrap the Jar in a Kitchen Towel
A thick kitchen towel or tea towel helps insulate the jar and reduces temperature fluctuations.
This simple trick is especially useful during cooler evenings.
5. Use Warm (Not Hot) Water for Feeding
Mix your starter with room-temperature or slightly warm water, around 80°F (27°C).
Avoid hot water, which can damage or kill the wild yeast.
6. Keep It Away from Drafts
Cold air from:
- Open windows
- Air conditioners
- Exterior doors
- Fans
can slow fermentation significantly.
Choose a stable location with consistent room temperature.
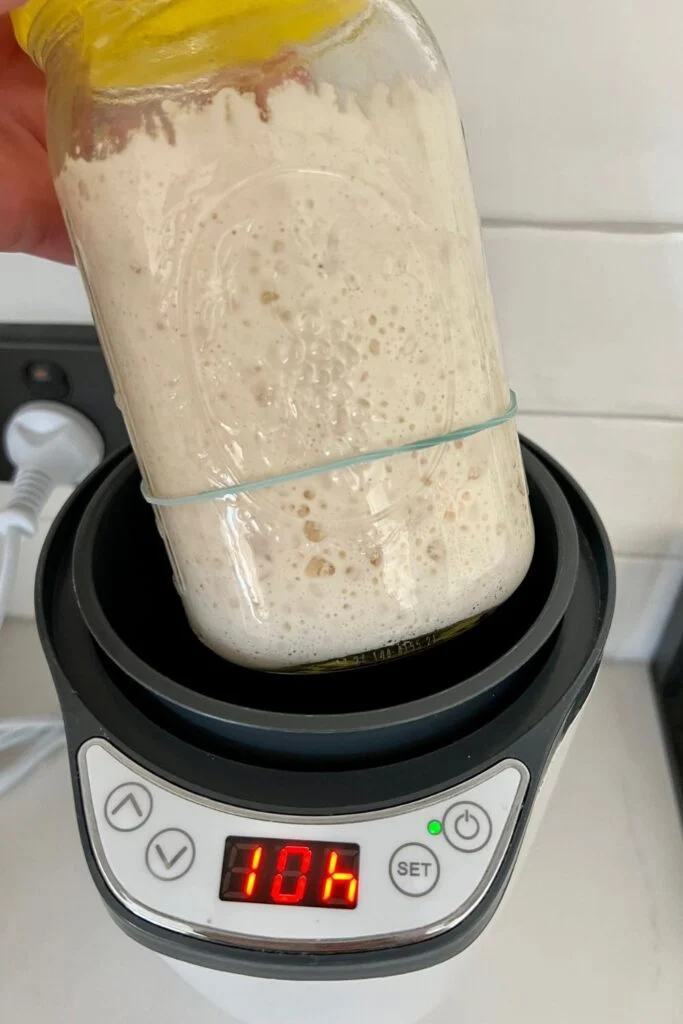
7. Use a Bread Proofing Box
If you bake sourdough regularly, a proofing box offers precise temperature control.
These appliances maintain a steady environment that’s perfect for both starters and rising dough.
Signs Your Starter Is Warm Enough
A healthy starter should:
- Double in size after feeding
- Be full of bubbles
- Smell pleasantly tangy or fruity
- Have a domed top before beginning to fall
- Rise predictably with each feeding
If these signs are present, your starter is likely fermenting at a suitable temperature.
Signs Your Starter Is Too Cold
Your starter may be too cold if it:
- Takes more than 12 hours to rise
- Produces very few bubbles
- Barely increases in volume
- Smells like raw flour after feeding
- Appears sluggish day after day
Moving it to a warmer location usually improves activity within a few feedings.
Can a Starter Get Too Warm?
Yes.
Temperatures above 86°F (30°C) can:
- Stress the yeast
- Increase acidity too quickly
- Cause unpleasant flavors
- Shorten feeding intervals
Avoid placing your starter in direct sunlight, on radiators, or near other strong heat sources.
Basic Sourdough Starter Feeding Recipe
Ingredients
- 25g active sourdough starter
- 50g bread flour (or all-purpose flour)
- 50g filtered water (about 80°F/27°C)
Instructions
- Discard all but 25g of your starter.
- Add the flour and warm water.
- Stir until no dry flour remains.
- Cover the jar loosely.
- Place it in a warm spot between 75°F and 82°F (24–28°C).
- Allow it to ferment for 4–8 hours, or until it has doubled in size and is bubbly.
- Use it for baking or refrigerate after it reaches peak activity if you won’t be baking immediately.
Tips for Success
- Feed your starter at the same time each day.
- Use filtered water if your tap water contains high levels of chlorine.
- Mark the starter’s height with a rubber band to track its rise.
- Keep the jar clean by wiping the sides after each feeding.
