
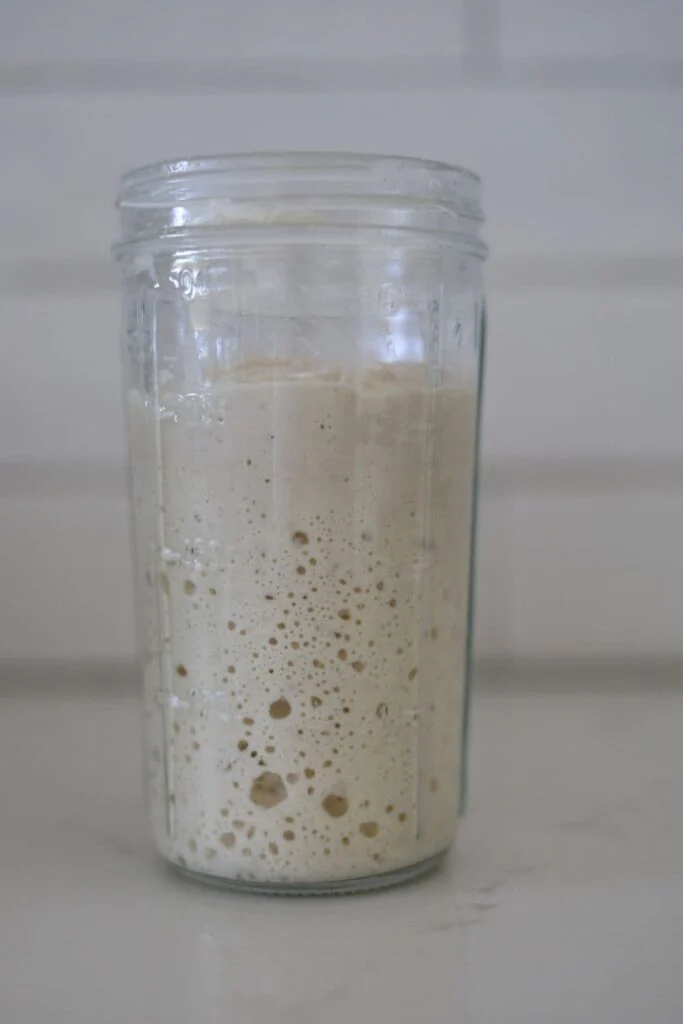
Why You’ll Love This Method
- Encourages large, healthy bubbles.
- Creates a stronger, more active starter.
- Improves dough rise and oven spring.
- Works for both beginners and experienced bakers.
- Uses simple ingredients and an easy feeding routine.
Ingredients
- 50 grams active sourdough starter (discard the rest before feeding)
- 50 grams unbleached bread flour
- 50 grams whole wheat flour or rye flour
- 100 grams filtered, room-temperature water (75–80°F / 24–27°C)
Equipment
- Clean glass jar
- Digital kitchen scale
- Silicone spatula or spoon
- Rubber band or marker
- Loose-fitting lid or cloth cover
Instructions
Step 1: Prepare the Starter
Discard all but 50 grams of your existing sourdough starter.
Transfer it to a clean glass jar.
Step 2: Feed the Starter
Add the bread flour, whole wheat or rye flour, and filtered water.
Stir thoroughly until no dry flour remains. The mixture should have the consistency of thick pancake batter.
Scrape down the sides of the jar.
Step 3: Mark the Level
Use a rubber band or marker to indicate the starter’s starting height.
This makes it easy to monitor how much it rises.
Step 4: Ferment
Cover the jar loosely with a lid or cloth.
Place it in a warm spot between 75–80°F (24–27°C).
Allow it to ferment for 4–8 hours, depending on the room temperature.
Step 5: Watch for Peak Activity
A healthy starter should:
- Double or even triple in size.
- Develop large and small bubbles throughout.
- Have a domed top.
- Smell pleasantly tangy and slightly sweet.
Use the starter at its peak for the best baking results.
Tips for Bigger Bubbles
- Feed your starter consistently at the same time each day.
- Use filtered or non-chlorinated water.
- Include a portion of whole wheat or rye flour to boost fermentation.
- Keep your starter in a warm environment.
- Use a clean jar for every feeding.
- Avoid using overly cold water.
- Don’t use the starter before it reaches its peak rise.
- If baking frequently, feed your starter twice daily for maximum activity.
Signs Your Starter Is Healthy
- Doubles within 4–8 hours after feeding.
- Large bubbles appear on the sides and surface.
- Light, airy texture.
- Pleasant sour aroma without unpleasant odors.
- Passes the float test (optional).
Troubleshooting
Starter has only tiny bubbles
Move it to a warmer location and feed it more regularly with fresh flour.
Starter isn’t rising
Check that your flour is fresh, your water is chlorine-free, and the room temperature is warm enough.
Starter smells like alcohol
It’s hungry. Feed it more frequently.
Starter is too runny
Reduce the amount of water slightly or use bread flour, which absorbs more moisture.
Storage
If baking every day:
- Keep the starter at room temperature and feed every 12–24 hours.
If baking once a week:
- Store it in the refrigerator and feed it once a week.
- Before baking, remove it from the refrigerator and feed it 1–2 times until it becomes bubbly and active.
Frequently Asked Questions
Which flour creates the biggest bubbles?
Bread flour combined with a small amount of whole wheat or rye flour usually produces the strongest fermentation and largest bubbles.
Does warmer temperature help?
Yes. A temperature between 75–80°F (24–27°C) is ideal for encouraging active fermentation and bubble formation.
Can I use all-purpose flour?
Yes, but bread flour generally creates a stronger gluten structure and often results in a more vigorous starter.
How do I know my starter is ready to bake with?
It’s ready when it has doubled or tripled in size, is filled with bubbles, has a domed surface, and has a pleasant tangy aroma.
Final Thoughts
Getting bigger bubbles in your sourdough starter is all about consistency, quality ingredients, and proper fermentation. With regular feedings, warm temperatures, and the right flour blend, your starter will become stronger, more active, and capable of producing beautifully risen sourdough bread with an open, airy crumb. A healthy starter is the secret to successful sourdough baking, and with a little patience, you’ll be rewarded with reliable, bakery-quality results every time.
