
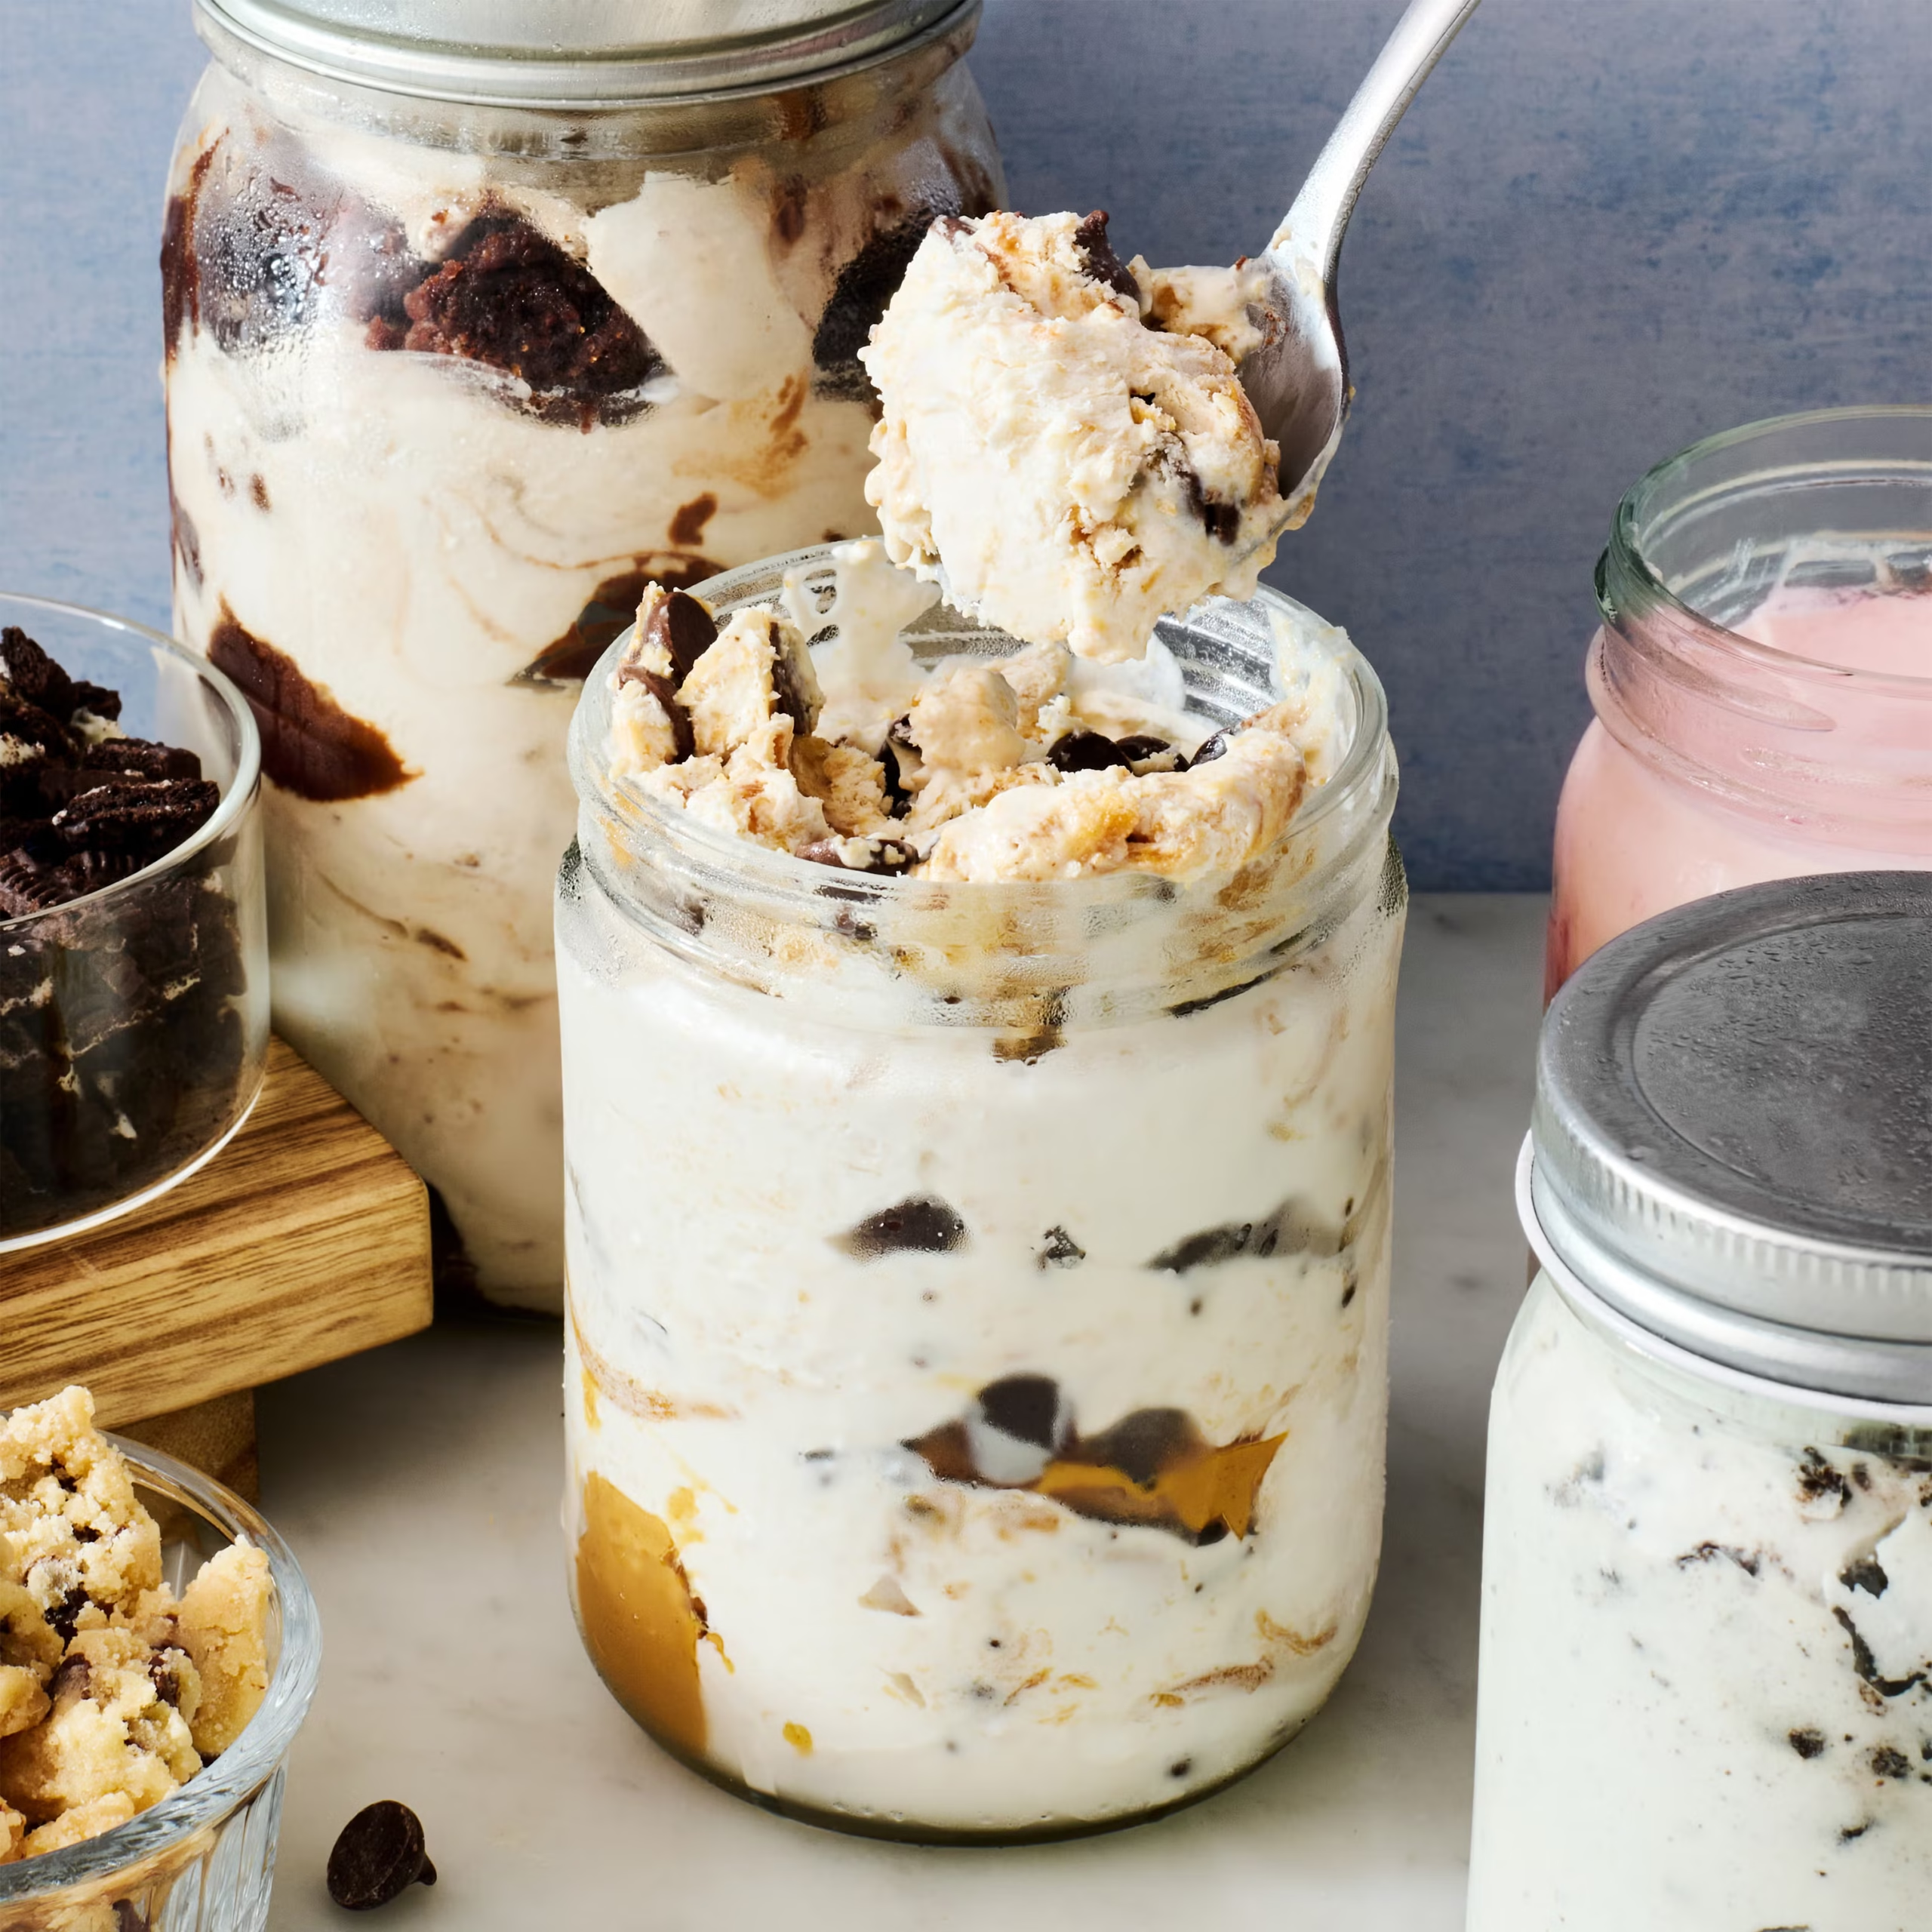
Why You’ll Love This Recipe
- No ice cream maker required
- Made with only a handful of ingredients
- Ready with minimal prep
- Fun recipe for kids and families
- Easy to customize with your favorite mix-ins
- Creamy, rich, and smooth texture
- Perfect for hot summer days
- Individual servings with less cleanup
Prep Time
- Prep Time: 10 minutes
- Shake Time: 5–8 minutes
- Freeze Time: 3–4 hours
- Total Time: About 4 hours
Servings: 2 pint-size servings or 4 smaller servings
Ingredients
Base Ice Cream
- 1 cup (240 ml) heavy whipping cream, cold
- ½ cup (150 g) sweetened condensed milk
- 1 teaspoon pure vanilla extract
- 1 pinch fine sea salt
Optional Mix-Ins
Choose one or combine several:
- Mini chocolate chips
- Crushed chocolate sandwich cookies
- Brownie pieces
- Chopped candy bars
- Sprinkles
- Crushed graham crackers
- Mini marshmallows
- Peanut butter chips
- Fresh strawberries
- Blueberries
- Raspberries
- Chopped peaches
- Mango pieces
- Toasted coconut
- Chopped roasted pistachios
- Caramel sauce
- Chocolate syrup
Optional Toppings
- Whipped cream
- Chocolate sauce
- Caramel sauce
- Rainbow sprinkles
- Crushed cookies
- Chopped nuts
- Fresh berries
- Maraschino cherries
Equipment
- One 32-ounce mason jar (or two 16-ounce mason jars)
- Measuring cups
- Measuring spoons
- Rubber spatula
- Freezer
Instructions
Step 1: Fill the Mason Jar
Pour the heavy whipping cream into the mason jar.
Add the sweetened condensed milk, vanilla extract, and a pinch of salt.
If you’re using mix-ins like mini chocolate chips, crushed cookies, or sprinkles, add them now.
Important: Fill the jar only about halfway to two-thirds full to leave enough room for the mixture to expand while shaking.
Secure the lid tightly.
Step 2: Shake the Jar
Shake the jar vigorously for 5–8 minutes.
The liquid mixture will gradually thicken into a soft, fluffy consistency similar to melted soft-serve ice cream.
You can take short breaks if needed, especially when making multiple jars.
The mixture is ready when it coats the sides of the jar and no longer sloshes freely.
Step 3: Freeze
Place the sealed jar in the freezer for 3–4 hours, or until firm.
For a softer, scoopable consistency, freeze for about 3 hours.
For a firmer texture, freeze overnight.
Step 4: Serve
Remove the jar from the freezer and let it sit at room temperature for 5–10 minutes before scooping.
Serve directly from the jar or transfer to dessert bowls.
Top with whipped cream, chocolate sauce, caramel, crushed cookies, sprinkles, or fresh fruit.
Enjoy immediately.
Flavor Variations
Cookies and Cream
Stir in 6–8 crushed chocolate sandwich cookies before shaking.
Chocolate Lovers
Add 2 tablespoons unsweetened cocoa powder and ¼ cup mini chocolate chips.
Strawberry Cheesecake
Mix in chopped fresh strawberries and crushed graham crackers. Swirl in softened cream cheese before freezing.
Mint Chocolate Chip
Add ¼ teaspoon peppermint extract and mini chocolate chips.
Salted Caramel
Swirl caramel sauce into the mixture and sprinkle with flaky sea salt before serving.
Birthday Cake
Add rainbow sprinkles and a few drops of cake batter flavoring or extra vanilla extract.
Peanut Butter Cup
Swirl creamy peanut butter into the base and add chopped peanut butter cups.
Coffee Ice Cream
Dissolve 1 tablespoon instant espresso powder in 1 teaspoon warm water, cool slightly, then mix it into the base.
Expert Tips
- Use very cold heavy cream for the best whipping results.
- Shake vigorously until the mixture noticeably thickens.
- Avoid overfilling the jar so the ingredients have room to move.
- Add delicate mix-ins, like fresh berries, after shaking if you prefer larger fruit pieces.
- Let the ice cream soften for a few minutes before scooping for the creamiest texture.
Storage
Store the ice cream tightly sealed in the freezer for up to 2 weeks.
For the best texture and flavor, enjoy it within the first week.
If the ice cream becomes very firm, let it rest at room temperature for several minutes before serving.
Frequently Asked Questions
Can I use milk instead of heavy cream?
Heavy cream is essential for a rich, creamy texture. Milk alone won’t whip properly and will result in an icy texture.
Why isn’t my mixture thickening?
The cream may not be cold enough, or the jar may be too full to allow enough movement while shaking. Continue shaking until the mixture thickens.
Can I make dairy-free Mason Jar Ice Cream?
Yes. Use full-fat canned coconut cream and sweetened condensed coconut milk for a dairy-free version.
Can kids help make this recipe?
Absolutely! Kids love shaking the jars and choosing their own mix-ins, making this a fun family activity.
Serving Suggestions
Pair Mason Jar Ice Cream with:
- Warm brownies
- Chocolate chip cookies
- Apple pie
- Peach cobbler
- Fresh waffles
- Pancakes
- Banana splits
- Chocolate cake
- Fresh fruit
Final Thoughts
Mason Jar Ice Cream is one of the easiest and most enjoyable ways to make homemade ice cream without any special equipment. With its creamy texture, endless flavor possibilities, and fun shake-to-make method, it’s a dessert the whole family will love. Whether you keep it classic with vanilla or get creative with cookies, fruit, candy, or caramel, this no-churn recipe is perfect for satisfying your ice cream cravings all year long.
