
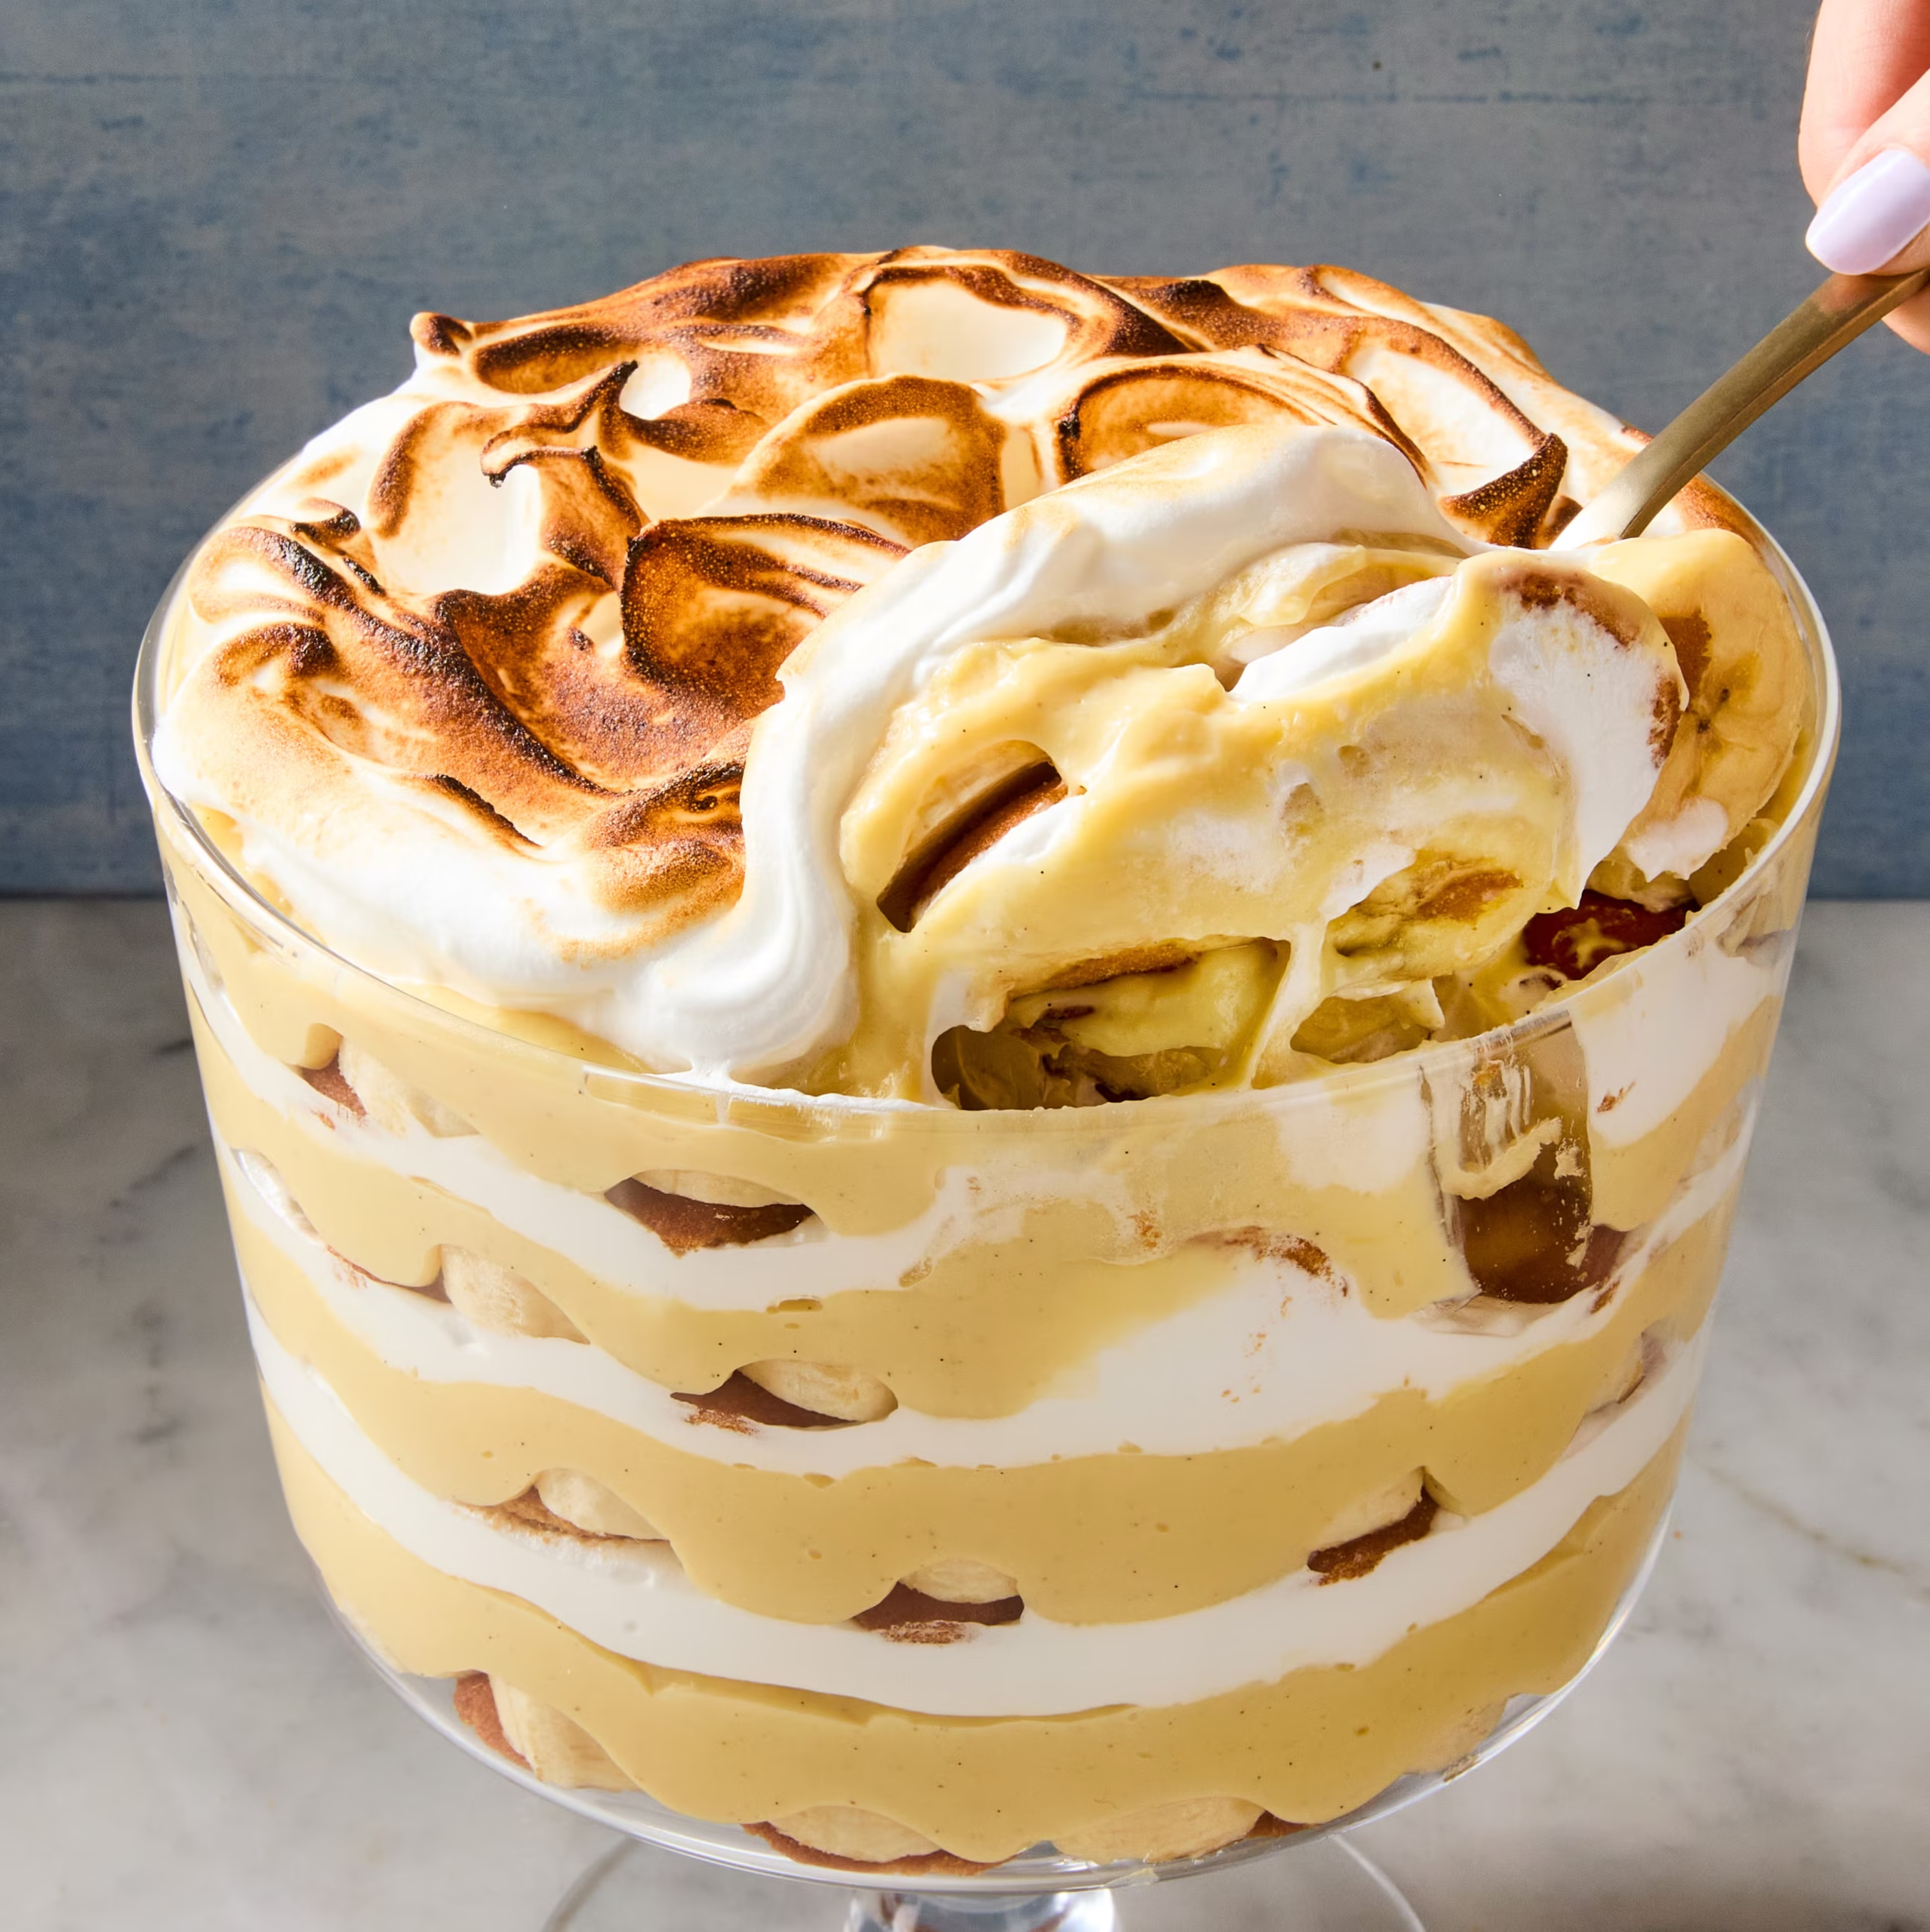
Why You’ll Love This Recipe
- Creamier and richer than the bakery version
- No baking required
- Made with simple, easy-to-find ingredients
- Perfect make-ahead dessert
- Loaded with fresh bananas and vanilla wafers
- Light, fluffy, and irresistibly creamy
- Great for parties, holidays, and potlucks
Prep Time
- Prep Time: 25 minutes
- Chill Time: 6–8 hours (overnight is best)
- Total Time: About 8 hours 25 minutes
Servings: 12
Ingredients
For the Creamy Pudding Filling
- 2 packages (3.4 ounces each) instant vanilla pudding mix
- 3 cups (720 ml) cold whole milk
- 1 can (14 ounces) sweetened condensed milk
- 8 ounces (225 g) cream cheese, softened
- 2 teaspoons pure vanilla extract
- 2 cups (480 ml) cold heavy whipping cream
- ½ cup (60 g) powdered sugar
For the Layers
- 1 box (11 ounces) vanilla wafer cookies
- 5–6 ripe but firm bananas, sliced
- 1 tablespoon fresh lemon juice (optional, to help prevent the bananas from browning)
Optional Garnishes
- Crushed vanilla wafers
- Whole vanilla wafers
- Fresh banana slices
- Whipped cream
- White chocolate shavings
- Caramel drizzle
- Fresh mint leaves
Equipment
- 9×13-inch baking dish or trifle bowl
- Large mixing bowls
- Electric mixer
- Rubber spatula
- Whisk
Instructions
Step 1: Prepare the Vanilla Pudding
In a large mixing bowl, whisk together:
- Instant vanilla pudding mix
- Cold whole milk
Whisk for about 2 minutes until the pudding begins to thicken.
Stir in the sweetened condensed milk until completely smooth.
Refrigerate the pudding while preparing the remaining ingredients.
Step 2: Make the Cream Cheese Mixture
In another large bowl, beat the softened cream cheese until smooth and creamy.
Add the vanilla extract and beat until fully combined.
Gradually add the chilled pudding mixture, beating until silky smooth and free of lumps.
Step 3: Whip the Cream
In a chilled mixing bowl, beat the cold heavy whipping cream until soft peaks form.
Gradually add the powdered sugar and continue beating until stiff peaks develop.
Do not overwhip.
Step 4: Fold Everything Together
Using a rubber spatula, gently fold the whipped cream into the pudding mixture in three additions.
Mix just until no streaks remain.
The filling should be light, airy, and exceptionally creamy.
Step 5: Prepare the Bananas
Slice the bananas into even rounds.
If desired, toss them lightly with the lemon juice to slow browning.
Pat dry with paper towels before layering.
Step 6: Assemble the Dessert
Spread a thin layer of pudding on the bottom of your serving dish.
Arrange a layer of vanilla wafers over the pudding.
Top with a layer of banana slices.
Spread one-third of the pudding mixture over the bananas.
Repeat the layers:
- Vanilla wafers
- Bananas
- Pudding
Continue until all ingredients are used, finishing with a thick layer of pudding on top.
Step 7: Chill
Cover tightly with plastic wrap.
Refrigerate for 6–8 hours, preferably overnight.
This allows the vanilla wafers to soften into a cake-like texture while the flavors blend together beautifully.
Step 8: Garnish and Serve
Before serving, decorate with:
- Whole vanilla wafers
- Crushed vanilla wafers
- Fresh banana slices
- Whipped cream
- White chocolate curls
- Caramel drizzle
Serve chilled.
Expert Tips
- Use bananas that are ripe but still firm for the best texture.
- Chill overnight for the creamiest, most flavorful pudding.
- Fold the whipped cream gently to keep the filling light and airy.
- Assemble the dessert the day before serving whenever possible.
- Add the final banana slices just before serving for the freshest appearance.
Delicious Variations
Chocolate Banana Pudding
Add a layer of mini chocolate chips or chocolate sandwich cookies.
Peanut Butter Banana Pudding
Swirl creamy peanut butter into the pudding mixture.
Salted Caramel Banana Pudding
Drizzle salted caramel sauce between the layers.
Strawberry Banana Pudding
Alternate sliced strawberries with the bananas for a fruity twist.
Coconut Banana Pudding
Fold toasted coconut flakes into the pudding and sprinkle more on top before serving.
Storage
Store covered in the refrigerator for up to 3 days.
For the best texture and appearance, enjoy within the first 48 hours, as the bananas will continue to soften over time.
Freezing is not recommended because the pudding and bananas may become watery after thawing.
Frequently Asked Questions
What makes this better than bakery-style banana pudding?
The addition of cream cheese creates a richer, creamier filling with a subtle tang that perfectly balances the sweetness. Fresh whipped cream also gives the dessert a lighter, fluffier texture than versions made with whipped topping.
Can I make this ahead of time?
Yes! In fact, this dessert is best when made the day before serving so the vanilla wafers have time to soften and absorb the flavors.
Can I use homemade vanilla pudding?
Absolutely. Homemade vanilla pudding adds an even richer flavor and can be substituted for the instant pudding mixture once it has cooled completely.
How do I keep bananas from turning brown?
Use ripe but firm bananas and lightly coat the slices with fresh lemon juice. Add the final garnish of banana slices just before serving for the freshest look.
Serving Suggestions
This banana pudding pairs perfectly with:
- Fresh coffee
- Iced coffee
- Sweet tea
- Vanilla ice cream
- Caramel sauce
- Chocolate shavings
- Butter cookies
- Fresh berries
Final Thoughts
Better Than Magnolia Bakery Banana Pudding is a rich, creamy, and irresistible dessert that combines silky vanilla pudding, homemade whipped cream, fresh bananas, and tender vanilla wafers into one unforgettable treat. Easy to prepare and even better after chilling overnight, this crowd-pleasing dessert is perfect for holidays, potlucks, celebrations, or simply satisfying your banana pudding cravings. One spoonful is all it takes to see why this homemade version just might become your new favorite.
