
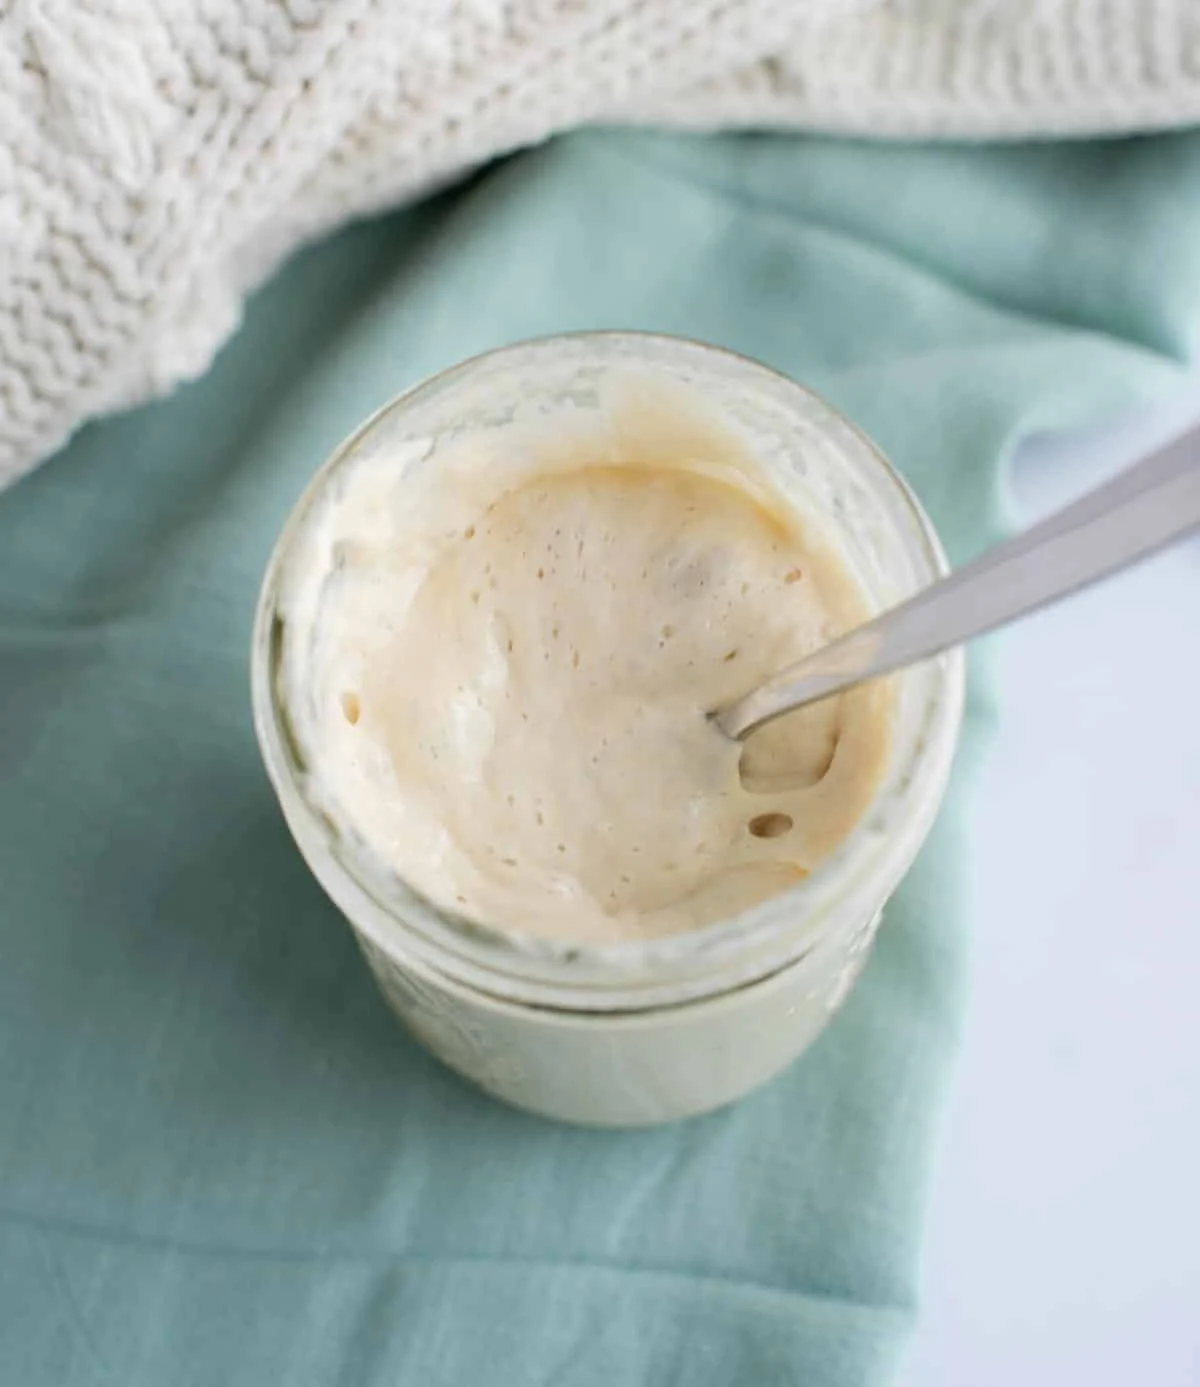
Sourdough Starter Recipe
Prep Time: 5 minutes per day
Fermentation Time: 5–10 days
Total Time: About 1 week
Yield: 1 active starter
Difficulty: Easy
Ingredients
Day 1
- ½ cup (60g) whole wheat flour or rye flour
- ¼ cup (60g) room-temperature water
Daily Feeding (Days 2–7+)
For each feeding:
- ½ cup (60g) all-purpose flour or bread flour
- ¼ cup (60g) room-temperature water
(A kitchen scale is recommended for the most consistent results.)
Equipment
- 1 clean glass jar (at least 16 ounces)
- Kitchen scale (optional but helpful)
- Wooden spoon or silicone spatula
- Loose-fitting lid or breathable cover
- Rubber band or marker to track growth
Instructions
Day 1: Create the Starter
In a clean glass jar, combine:
- 60g whole wheat flour
- 60g room-temperature water
Stir until no dry flour remains. The mixture should resemble a thick pancake batter.
Scrape down the sides of the jar.
Cover loosely with a lid, cloth, or paper towel secured with a rubber band.
Place the jar in a warm spot, ideally around 70–75°F (21–24°C).
Let it sit for 24 hours.
Day 2: First Feeding
You may notice a few bubbles or a slightly sour smell. This is normal.
Discard about half of the starter (approximately 60g).
Add:
- 60g flour
- 60g water
Mix well.
Cover loosely and let rest for another 24 hours.
Days 3–5: Build Strength
Continue the daily feeding routine:
- Remove and discard half of the starter.
- Add equal amounts of flour and water.
- Mix thoroughly.
- Cover and leave at room temperature.
During this stage, your starter may:
- Become bubbly
- Rise and fall
- Smell fruity, sour, or slightly fermented
Do not worry if activity slows down around days 3–4. This is a normal part of starter development.
Days 5–10: Establish an Active Starter
Your starter is ready when it consistently:
✓ Doubles in size within 4–8 hours after feeding
✓ Has many visible bubbles
✓ Smells pleasantly sour, fruity, or yeasty
✓ Looks airy and elastic
✓ Passes the float test (optional)
The Float Test
To test your starter:
- Drop a small spoonful of starter into a glass of water.
- If it floats, it is likely ready for baking.
- If it sinks, continue feeding and testing.
(The float test is helpful but not the only measure of readiness.)
How to Maintain Your Sourdough Starter
Room Temperature Maintenance
If you bake frequently:
Feed your starter every day:
- 1 part starter
- 1 part water
- 1 part flour
Example:
- 50g starter
- 50g water
- 50g flour
Refrigerator Maintenance
If you bake once a week or less:
- Feed your starter.
- Let it sit at room temperature for a few hours.
- Store covered in the refrigerator.
- Feed once every 1–2 weeks.
Before baking:
- Remove from the fridge.
- Feed it.
- Allow it to become active again.
Tips for a Successful Sourdough Starter
Use Whole Grain Flour at the Beginning
Whole wheat or rye flour contains more nutrients and natural microorganisms, helping your starter develop faster.
Keep It Warm
A cool kitchen slows fermentation. A warm location helps the starter become active.
Use Clean Equipment
A clean jar prevents unwanted bacteria from affecting your starter.
Be Patient
Some starters become active in 5 days, while others may take 10–14 days depending on temperature, flour, and environment.
Don’t Seal the Jar Tightly
Fermentation produces gases, so the starter needs airflow.
Troubleshooting
My Starter Has No Bubbles
Possible causes:
- Room temperature is too cold
- Flour lacks nutrients
- Feeding schedule needs more time
Solution:
- Move it somewhere warmer.
- Continue daily feeding.
My Starter Smells Bad
A healthy starter may smell:
- Sour
- Fruity
- Yogurt-like
- Slightly acidic
If it smells unpleasant or shows mold, discard it and start fresh.
My Starter Rose Then Stopped
This is common around days 3–5.
Early activity can come from temporary bacteria before stable yeast populations develop.
Continue feeding—it usually becomes active again.
There Is Liquid on Top
A dark liquid called “hooch” means the starter is hungry.
Stir it in or pour it off, then feed the starter.
Ways to Use Sourdough Starter
Once active, your starter can be used for:
- Classic sourdough bread
- Sourdough pancakes
- Waffles
- Pizza dough
- Crackers
- Cinnamon rolls
- English muffins
- Biscuits
- Flatbreads
- Muffins
Sample Feeding Schedule Before Baking Bread
Evening Before Baking
Feed starter:
- 50g starter
- 50g flour
- 50g water
Leave overnight.
Morning
Check that it has doubled and is bubbly.
Use it in your sourdough recipe.
Frequently Asked Questions
How long does it take to make a sourdough starter?
Most starters become ready in 5–10 days, though some may take longer depending on conditions.
Can I use all-purpose flour?
Yes. Many bakers use all-purpose or bread flour after the starter becomes established.
Can I make a starter without discarding?
Yes, but the starter will grow quickly and require much more flour. Discarding keeps the quantity manageable and strengthens fermentation.
Can I name my sourdough starter?
Absolutely! Many bakers give their starters names as part of the fun tradition of sourdough baking.
Final Thoughts
Learning how to make a sourdough starter from scratch is a rewarding baking journey that connects you with an age-old tradition of natural fermentation. With just flour, water, and a little patience, you can create a living culture that produces flavorful homemade breads and countless delicious recipes. Once your starter is establis
