Recipe Information
Prep Time: 20 minutes
Bake Time: 25 minutes
Chill Time: 1 hour
Total Time: 1 hour 45 minutes
Servings: 16 brownies
Ingredients
For the Brownies
- 1 cup (225g) unsalted butter, melted
- 1½ cups (300g) granulated sugar
- 1 cup (200g) brown sugar
- 4 large eggs
- 1 tablespoon vanilla extract
- 1 cup (100g) unsweetened cocoa powder
- 1 cup (125g) all-purpose flour
- ½ teaspoon salt
- 2 tablespoons cornstarch
For the Chocolate Ganache
- 1 cup (170g) semi-sweet chocolate chips
- ½ cup (120ml) heavy cream
For the Topping
- ½ cup colorful candy-coated chocolate chips or rainbow chocolate candies
Equipment Needed
- 9×13-inch baking pan
- Parchment paper
- Mixing bowls
- Whisk
- Rubber spatula
- Small saucepan
Instructions
Step 1: Prepare the Baking Pan
Preheat the oven to 350°F (175°C).
Line a 9×13-inch baking pan with parchment paper, leaving overhang on the sides for easy removal.
Lightly grease the parchment paper.
Step 2: Make the Brownie Batter
In a large bowl, whisk together:
- Melted butter
- Granulated sugar
- Brown sugar
Whisk until smooth and glossy.
Add the eggs one at a time, whisking well after each addition.
Stir in the vanilla extract.
Step 3: Add the Dry Ingredients
Sift together:
- Cocoa powder
- Flour
- Salt
- Cornstarch
Gradually fold the dry ingredients into the wet ingredients.
Mix just until combined.
Do not overmix.
The batter will be thick.
Step 4: Bake
Spread the batter evenly into the prepared pan.
Bake for 22–25 minutes.
The center should be set but still slightly soft.
Avoid overbaking to maintain a fudgy texture.
Step 5: Cool Completely
Remove the brownies from the oven.
Allow them to cool completely in the pan.
This may take about 1 hour.
Step 6: Make the Ganache
Place the chocolate chips in a heatproof bowl.
Heat the heavy cream in a small saucepan until just simmering.
Pour the hot cream over the chocolate chips.
Let sit for 2 minutes.
Whisk until smooth and glossy.
Step 7: Add the Ganache
Pour the ganache over the cooled brownies.
Spread evenly using an offset spatula.
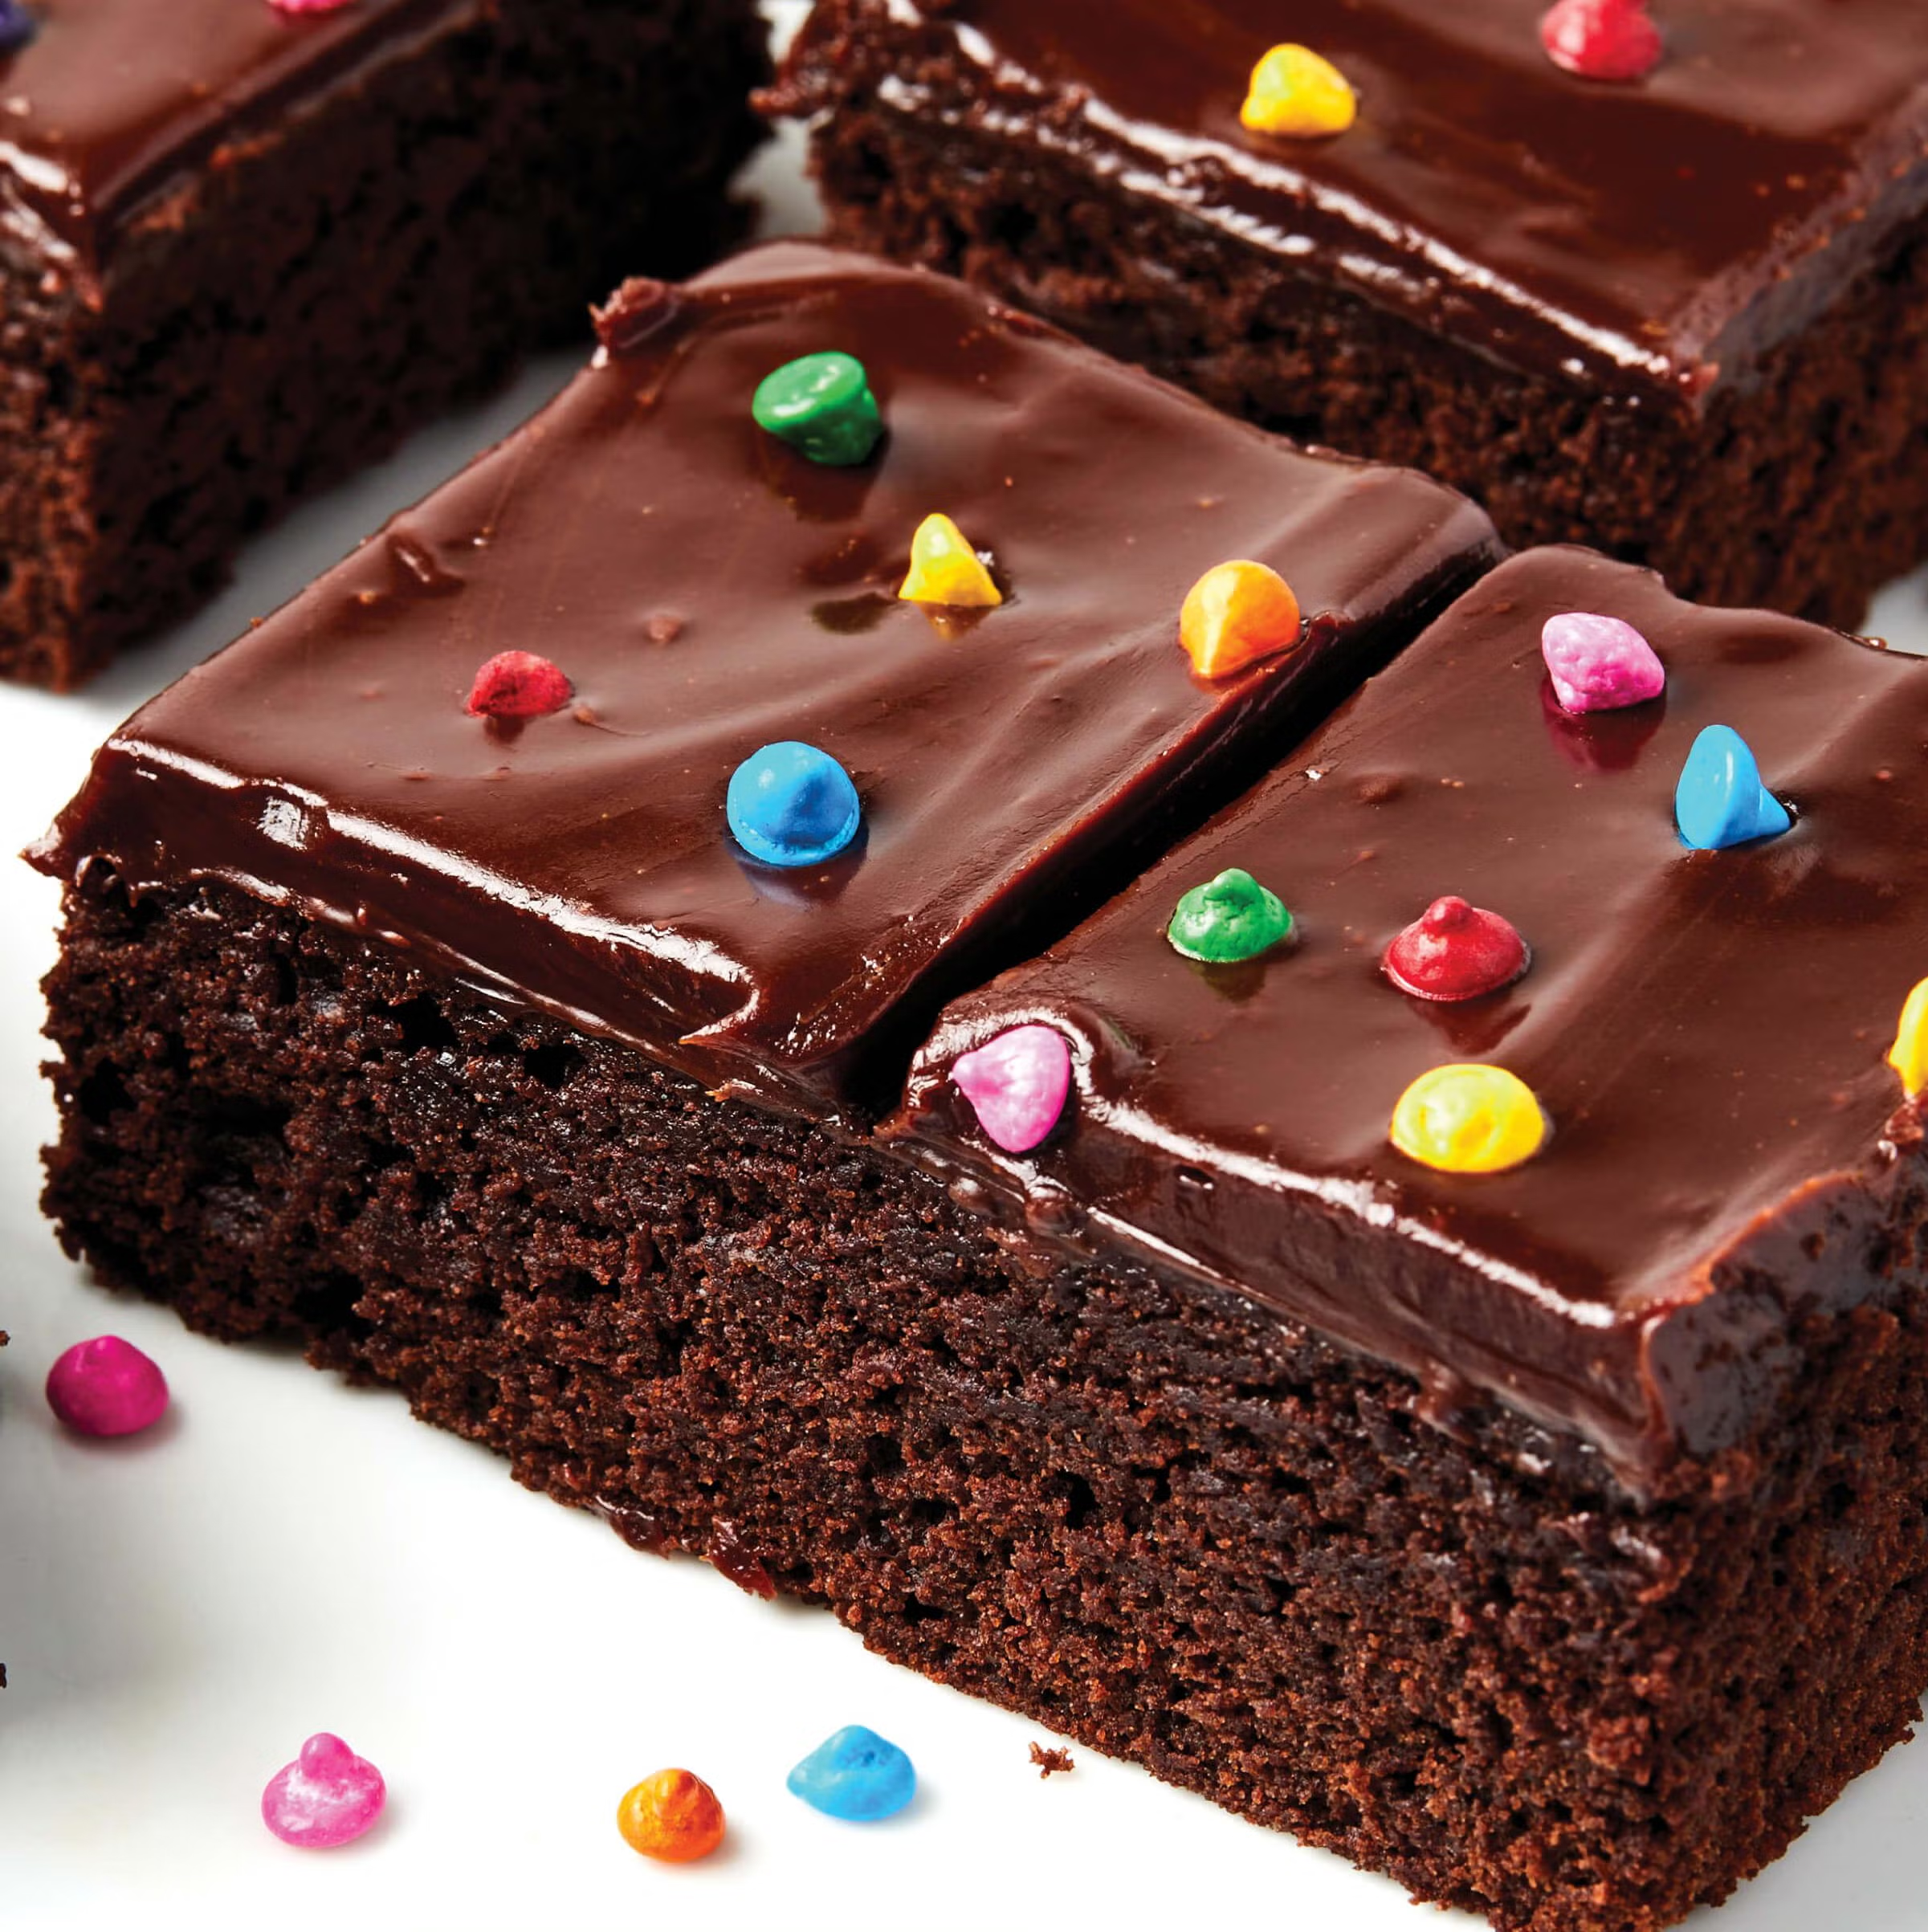
Immediately sprinkle the colorful candy-coated chocolate chips over the top.
Press them lightly into the ganache.
Step 8: Chill
Refrigerate the brownies for 30–60 minutes until the ganache is set.
This step helps achieve the signature Cosmic Brownie texture.
Step 9: Slice and Serve
Lift the brownies from the pan using the parchment paper.
Cut into squares using a sharp knife.
For clean cuts, wipe the knife between slices.
Serve and enjoy.
Tips for Perfect Cosmic Brownies
Use Quality Cocoa Powder
Good cocoa powder creates a richer chocolate flavor.
Don’t Overbake
Slightly underbaked brownies stay fudgy and chewy.
Chill Before Cutting
This helps the ganache set and creates neat slices.
Use Room Temperature Eggs
They blend more easily into the batter.
Measure Flour Carefully
Too much flour can make brownies dry.
Delicious Variations
Double Chocolate Cosmic Brownies
Add 1 cup chocolate chips to the brownie batter.
Peanut Butter Cosmic Brownies
Swirl peanut butter into the batter before baking.
Cookies and Cream Cosmic Brownies
Mix crushed chocolate sandwich cookies into the batter.
Salted Caramel Cosmic Brownies
Drizzle caramel sauce and sprinkle flaky sea salt on top.
White Chocolate Cosmic Brownies
Use white chocolate ganache instead of dark chocolate.
Storage
Room Temperature
Store in an airtight container for up to 4 days.
Refrigerator
Store for up to 1 week.
Freezer
Freeze for up to 3 months.
Nutrition Information (Approximate Per Brownie)
- Calories: 320
- Carbohydrates: 38g
- Protein: 4g
- Fat: 18g
- Saturated Fat: 11g
- Sugar: 28g
- Sodium: 120mg
Why You’ll Love This Recipe
- Rich and fudgy texture
- Thick chocolate ganache topping
- Fun and colorful appearance
- Better than store-bought versions
- Perfect for parties and lunchboxes
- Easy to make ahead
- Chocolate lover’s dream dessert
