Ingredients
For the Dough
- 100g active sourdough starter
- 350g warm water
- 500g bread flour
- 10g fine sea salt
Equipment
- Large mixing bowl
- Bench scraper
- Banneton basket or bowl lined with a towel
- Dutch oven with lid
- Kitchen scale
- Parchment paper
Instructions
Step 1: Mix the Dough
In a large mixing bowl, combine the active sourdough starter and warm water. Stir until the starter is mostly dissolved.
Add the bread flour and mix until no dry flour remains. Cover and let the dough rest for 30 minutes.
This process, called autolyse, allows the flour to fully hydrate and helps develop gluten naturally.
Step 2: Add Salt
Sprinkle the salt over the dough and gently work it in using your hands.
Cover and let the dough rest for 30 minutes.
Step 3: Stretch and Fold
Perform a series of stretch-and-folds every 30 minutes for the next 2 hours.
To do this:
- Grab one side of the dough.
- Stretch it upward.
- Fold it over the center.
- Rotate the bowl and repeat four times.
After several rounds, the dough will become smoother, stronger, and easier to handle.
Step 4: Bulk Fermentation
Cover the bowl and allow the dough to ferment at room temperature for 4–6 hours, or until it has increased by about 50% in volume.
The dough should look puffy and feel airy when gently pressed.
Step 5: Shape the Dough
Turn the dough onto a lightly floured surface.
Gently shape it into a round ball by folding the edges toward the center and creating surface tension.
Let it rest for 20 minutes.
Perform a final shaping and place the dough seam-side up into a floured banneton basket.
Step 6: Cold Proof
Cover the dough and refrigerate for 8–12 hours.
This slow fermentation develops the classic sourdough flavor and improves the texture of the finished loaf.
Step 7: Preheat the Oven
Place a Dutch oven inside your oven and preheat to 475°F (245°C) for at least 30 minutes.
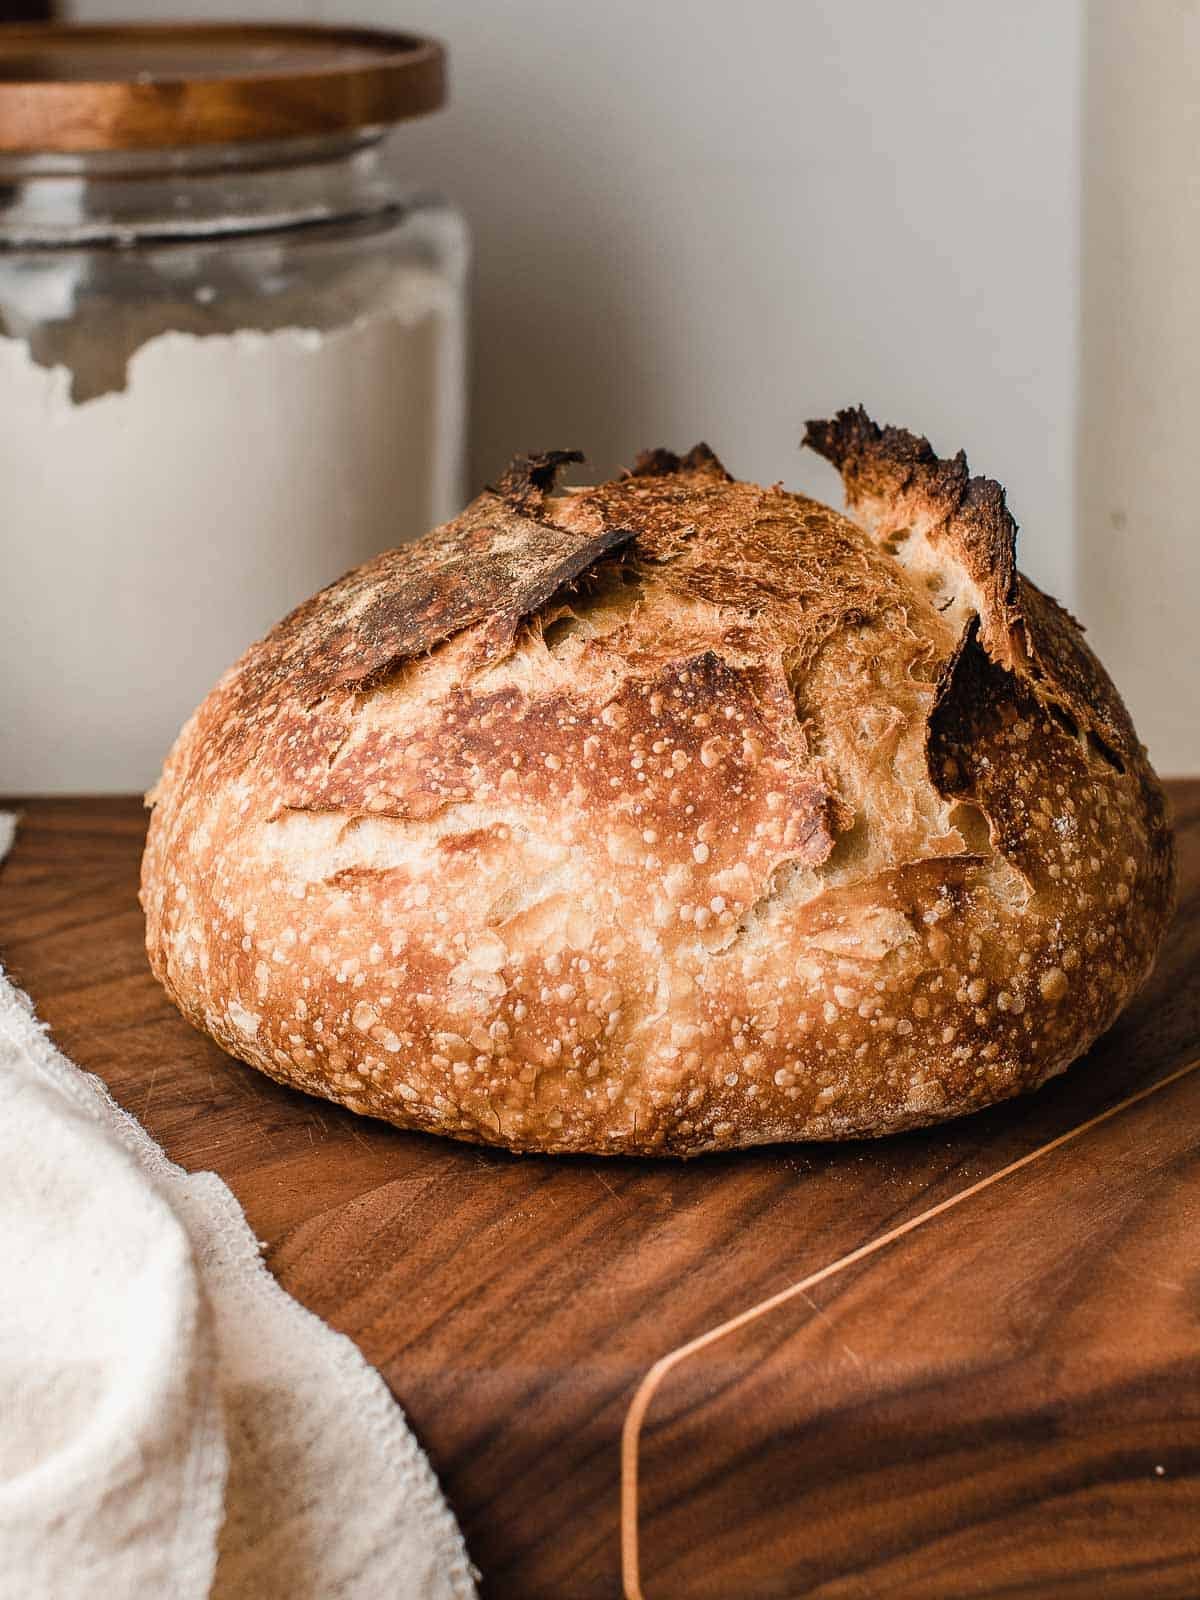
A hot Dutch oven creates steam, helping the bread achieve maximum oven spring and a crisp crust.
Step 8: Score and Bake
Turn the dough onto a piece of parchment paper.
Using a sharp blade or bread lame, score the top with one long slash about ½ inch deep.
Carefully place the dough into the hot Dutch oven.
Cover with the lid and bake for 25 minutes.
Remove the lid and continue baking for 20 minutes, or until the crust is deep golden brown.
The internal temperature should reach approximately 205–210°F (96–99°C).
Step 9: Cool
Transfer the bread to a wire rack and allow it to cool completely for at least 1 hour before slicing.
Cutting too soon can result in a gummy crumb.
Baker’s Tips
- Use a bubbly, active starter for the best rise.
- Bread flour produces a chewier texture and stronger structure.
- Cold proofing overnight develops deeper flavor.
- A Dutch oven is ideal for creating bakery-style crust.
- For an extra tangy loaf, extend the cold proof to 18–24 hours.
Storage
Room Temperature
Store in a bread bag or wrapped in a clean kitchen towel for up to 3 days.
Freezer
Freeze sliced bread in an airtight container for up to 3 months.
Frequently Asked Questions
Can I use all-purpose flour?
Yes, but bread flour will give you better structure and a more open crumb.
How do I know my starter is ready?
It should double in size within 4–8 hours after feeding and pass the float test.
Why didn’t my bread rise?
The starter may not have been active enough, or the dough may have been underproofed.
Can I add mix-ins?
Absolutely. Try adding cheddar cheese, jalapeños, roasted garlic, olives, or herbs during the shaping stage.
Recipe Notes
Homemade sourdough bread is one of the most rewarding baking projects. With its crackly crust, chewy texture, and rich fermented flavor, this artisan loaf rivals anything from a bakery. Once you master the basics, you can customize it with your favorite flavors and enjoy fresh, naturally leavened bread anytime.
