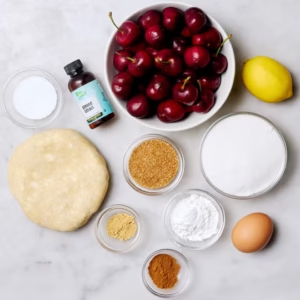
Ingredients
For the Pie Crust
- 2½ cups (315g) all-purpose flour
- 1 tablespoon granulated sugar
- 1 teaspoon salt
- 1 cup (226g) cold unsalted butter, cut into small cubes
- 6–8 tablespoons ice water
For the Cherry Filling
- 6 cups fresh or frozen pitted cherries
- ¾ cup granulated sugar
- ¼ cup light brown sugar
- ⅓ cup cornstarch
- 2 tablespoons fresh lemon juice
- 1 teaspoon pure vanilla extract
- ¼ teaspoon almond extract (optional)
- ¼ teaspoon salt
- 1 tablespoon unsalted butter
For the Egg Wash
- 1 large egg
- 1 tablespoon milk or water
Optional Garnishes
- Coarse sugar for sprinkling
- Vanilla ice cream
- Fresh whipped cream
Equipment Needed
- 9-inch pie dish
- Large mixing bowl
- Rolling pin
- Pastry cutter or food processor
- Medium saucepan
- Pastry brush
- Wire cooling rack
Instructions
Step 1: Prepare the Pie Dough
A flaky crust is the foundation of a great pie.
- In a large mixing bowl, whisk together the flour, sugar, and salt.
- Add the cold butter cubes and use a pastry cutter or your fingertips to work the butter into the flour mixture until it resembles coarse crumbs with some pea-sized pieces remaining.
- Add the ice water one tablespoon at a time, mixing gently after each addition.
- Continue adding water until the dough just comes together when pressed between your fingers.
- Divide the dough into two equal portions.
- Shape each portion into a flat disc.
- Wrap tightly in plastic wrap and refrigerate for at least 1 hour.
Tip: Keeping the butter cold is essential for creating a flaky, tender crust.
Step 2: Make the Cherry Filling
- Place the cherries in a large saucepan.
- Add granulated sugar, brown sugar, cornstarch, lemon juice, vanilla extract, almond extract, and salt.
- Stir until everything is evenly combined.
- Cook over medium heat, stirring frequently.
- As the cherries release their juices, the mixture will begin to thicken.
- Continue cooking for about 8–10 minutes until the filling becomes glossy and thick enough to coat the back of a spoon.
- Remove from heat and stir in the butter until melted.
- Allow the filling to cool completely before assembling the pie.
Why cool the filling? A cooled filling helps prevent a soggy crust and keeps the pie structure intact.
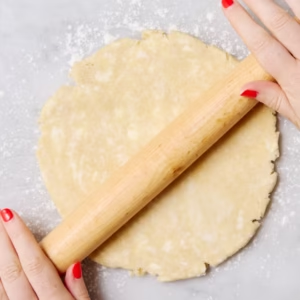
Step 3: Roll Out the Bottom Crust
- Lightly flour a clean work surface.
- Remove one dough disc from the refrigerator.
- Roll it into a circle about 12 inches in diameter and ⅛-inch thick.
- Carefully transfer the dough to a 9-inch pie dish.
- Gently press it into the bottom and sides without stretching the dough.
- Trim any excess dough, leaving about 1 inch hanging over the edges.
Place the pie dish in the refrigerator while you prepare the top crust.
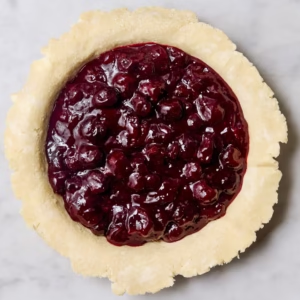
Step 4: Assemble the Pie
- Spoon the cooled cherry filling into the prepared pie crust.
- Spread it evenly with a spatula.
- Roll out the second dough disc.
You can choose either:
Full Top Crust
- Place the second crust over the filling.
- Trim excess dough.
- Fold the edges under and crimp decoratively.
- Cut several slits in the center to allow steam to escape.
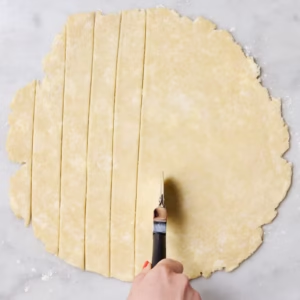
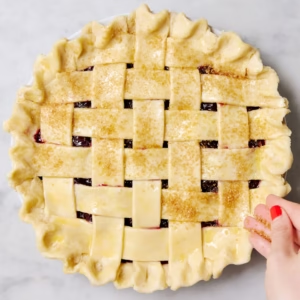
Lattice Top Crust
- Cut the rolled dough into strips about 1 inch wide.
- Arrange half the strips across the pie.
- Fold back alternating strips and weave the remaining strips in the opposite direction.
- Trim excess dough and crimp the edges.
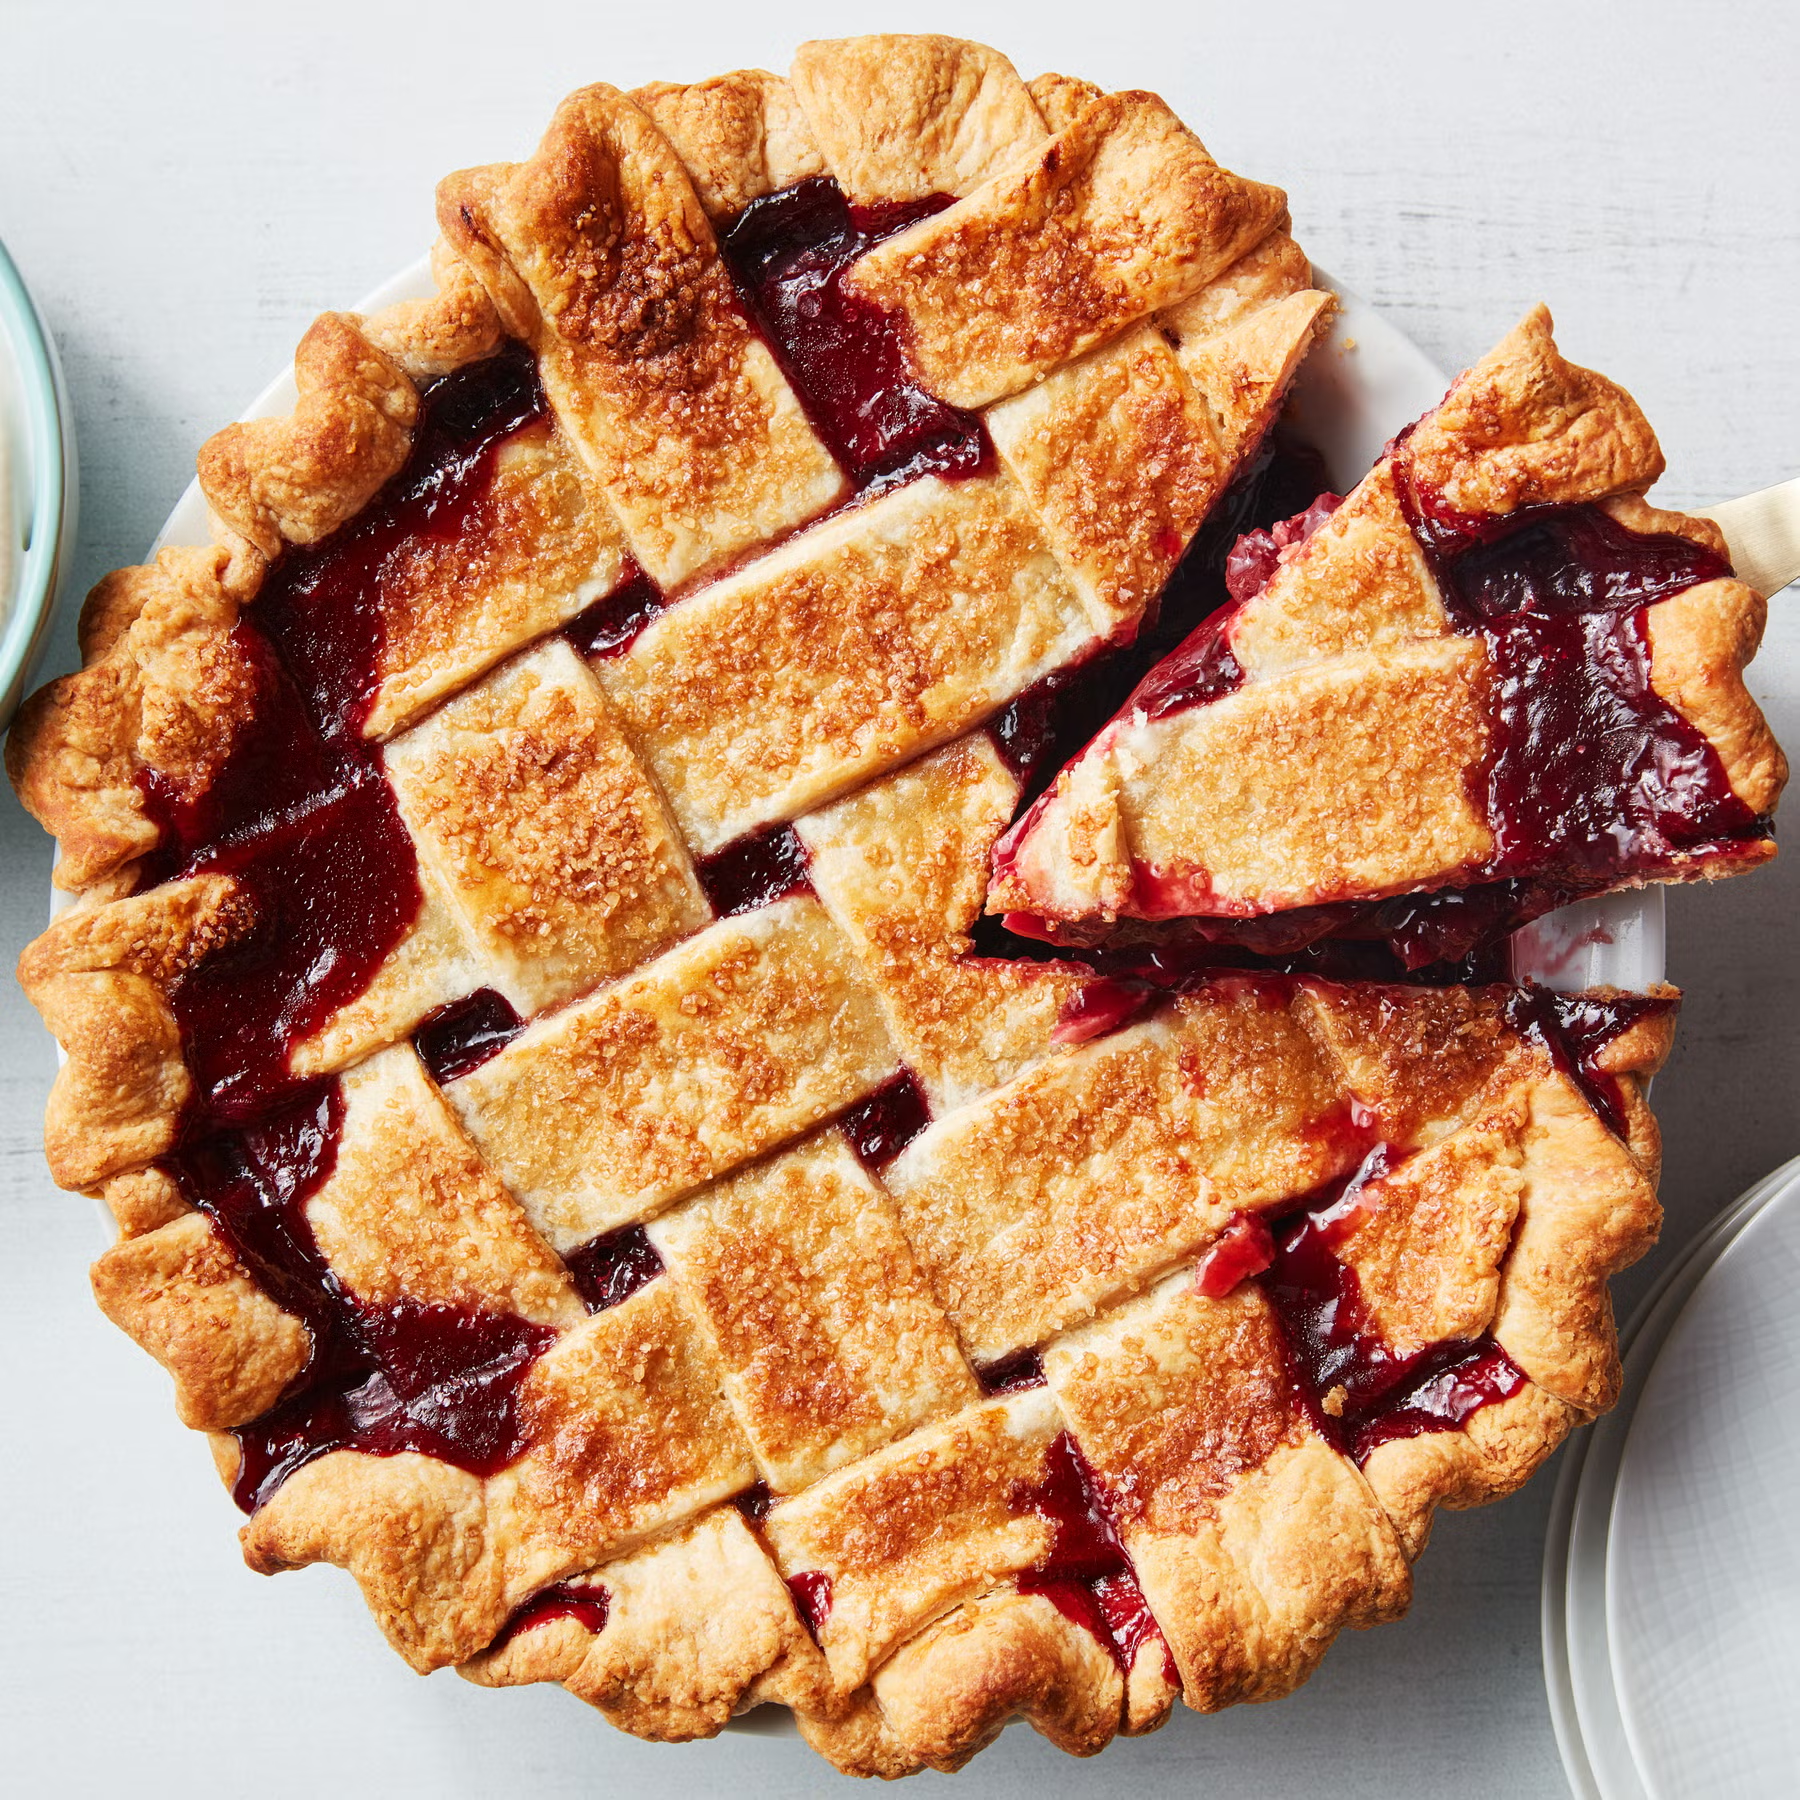
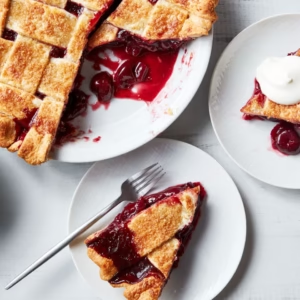
A lattice crust creates a beautiful bakery-style appearance while allowing the vibrant cherry filling to peek through.
Step 5: Apply the Egg Wash
- Beat together the egg and milk.
- Brush the mixture over the entire top crust.
- Sprinkle with coarse sugar if desired.
The egg wash helps create a shiny, golden-brown finish.
Step 6: Bake the Pie
- Preheat the oven to 425°F (220°C).
- Place the pie on a baking sheet to catch any bubbling juices.
- Bake for 15 minutes.
- Reduce the oven temperature to 375°F (190°C).
- Continue baking for 40–50 minutes.
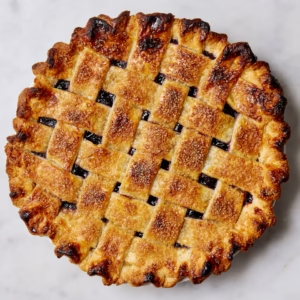
The pie is done when:
- The crust is deep golden brown.
- The filling is bubbling through the vents or lattice openings.
- The edges are crisp and flaky.
If the edges begin browning too quickly, cover them loosely with aluminum foil or a pie shield.
Step 7: Cool Completely
- Transfer the pie to a wire rack.
- Allow it to cool for at least 3–4 hours.
This cooling period allows the filling to set properly and makes slicing much easier.
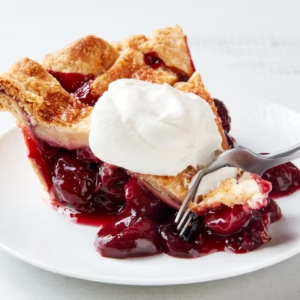
Serving Suggestions
Serve Cherry Pie:
- Warm with vanilla ice cream
- With freshly whipped cream
- Drizzled with warm vanilla sauce
- Alongside coffee or tea
- As part of a holiday dessert table
Storage Instructions
At Room Temperature
Store covered for up to 2 days.
Refrigerator
Keep refrigerated for up to 5 days.
Freezer
Wrap tightly and freeze for up to 3 months. Thaw overnight in the refrigerator before serving.
Expert Tips for the Best Cherry Pie
- Use fresh cherries when in season for the best flavor.
- A combination of sweet and tart cherries creates a more complex filling.
- Don’t skip the lemon juice—it brightens the flavor and balances the sweetness.
- Chill the dough whenever it becomes soft while working.
- Bake until the filling is actively bubbling to ensure the cornstarch is fully cooked.
- Let the pie cool completely before slicing for clean, beautiful slices.
- Add a pinch of cinnamon or nutmeg for extra warmth and depth.
Nutrition Highlights
Cherries are naturally rich in antioxidants, vitamin C, potassium, and plant compounds that may help support overall health. This homemade pie offers the delicious flavor of real fruit wrapped in a flaky, buttery crust, making it a classic dessert worth sharing.
Sweet, juicy, and wrapped in a perfectly flaky crust, this homemade Cherry Pie is a timeless dessert that brings warmth, nostalgia, and irresistible flavor to every slice
