Ingredients
- 100g active sourdough starter (fed and bubbly)
- 375g warm filtered water (75–80°F / 24–27°C)
- 500g bread flour
- 10g fine sea salt
For Dusting
- Rice flour or bread flour
Equipment
- Large mixing bowl
- Digital kitchen scale
- Dough scraper
- Banneton proofing basket or medium bowl lined with a floured kitchen towel
- Dutch oven with lid
- Parchment paper
- Bread lame or sharp razor blade
- Cooling rack
Instructions
Step 1 – Prepare the Starter
Feed your sourdough starter 4–8 hours before mixing the dough. It should be at its peak, bubbly, and at least doubled in size.
Step 2 – Mix the Dough
In a large mixing bowl:
- Pour in the warm filtered water.
- Add the active sourdough starter and stir until mostly dissolved.
- Add the bread flour and mix until all of the flour is hydrated and no dry patches remain.
Cover the bowl with a damp towel or plastic wrap and let the dough rest for 30–45 minutes. This resting period, called the autolyse, allows the flour to absorb the water and begins gluten development naturally.
Step 3 – Add the Salt
Sprinkle the sea salt evenly over the dough.
Using damp hands, gently squeeze and fold the dough until the salt is fully incorporated.
Cover and let the dough rest for another 30 minutes.
Step 4 – Stretch and Fold
Over the next 2 hours, perform 4 sets of stretch-and-folds, one every 30 minutes.
For each set:
- Wet your hands to prevent sticking.
- Grab one edge of the dough.
- Stretch it upward without tearing.
- Fold it over the center.
- Rotate the bowl a quarter turn and repeat until all four sides have been folded.
With each round, the dough will become smoother, stronger, and easier to handle.
Step 5 – Bulk Fermentation
Cover the bowl and allow the dough to ferment at room temperature until it has increased by approximately 50–75% in volume.
This typically takes:
- 4–5 hours in a warm kitchen (75–78°F / 24–26°C)
- 5–6 hours in a cooler kitchen (68–72°F / 20–22°C)
The dough should look airy, slightly domed, and have visible bubbles around the edges.
Step 6 – Pre-Shape
Lightly flour your work surface.
Gently turn out the dough, taking care not to deflate it.
Using a bench scraper, shape it into a loose round.
Allow it to rest uncovered for 20–30 minutes.
Step 7 – Final Shape
Shape the dough into a tight round (boule) or oval (batard) by gently folding and tightening the surface to create tension.
Place the dough seam-side up into a well-floured banneton basket.
Step 8 – Cold Proof
Cover the basket and refrigerate for 8–12 hours.
The overnight proof develops deeper flavor, improves the texture, and makes scoring easier.
Step 9 – Preheat the Oven
Place a Dutch oven with its lid inside the oven.
Preheat to 475°F (245°C) for at least 45 minutes.
A thoroughly preheated Dutch oven creates steam, which helps produce excellent oven spring and a crisp crust.
Step 10 – Score the Dough
Turn the dough onto a sheet of parchment paper.
Dust off any excess flour.
Using a bread lame or sharp razor, make one long slash about ½ inch (1 cm) deep across the top. Decorative scoring can also be added if desired.
Step 11 – Bake
Carefully lower the dough into the hot Dutch oven using the parchment paper.
Cover with the lid and bake for 30 minutes.
Remove the lid and continue baking for 15–20 minutes, or until the crust is a rich golden brown with deep caramelized edges.
The internal temperature should reach 205–210°F (96–99°C).
Step 12 – Cool
Transfer the loaf to a wire cooling rack.
Allow the bread to cool completely for at least 1–2 hours before slicing. This helps the crumb finish setting and prevents a gummy texture.
Tips for Success
- Use a mature starter that reliably doubles after feeding.
- Weigh your ingredients with a digital kitchen scale for accuracy.
- Handle the dough gently to preserve the gas bubbles formed during fermentation.
- Rice flour works well for dusting because it helps prevent sticking.
- Refrigerating the dough overnight enhances both flavor and crust color.
- Avoid slicing the loaf while it’s still warm.
Flavor Variations
Whole Wheat Artisan Loaf
Replace 100g of the bread flour with whole wheat flour for a nuttier flavor.
Seeded Sourdough
Fold in 75g each of sunflower seeds, pumpkin seeds, or sesame seeds during the final stretch-and-fold.
Rosemary & Garlic
Add 1 tablespoon chopped fresh rosemary and 2 minced garlic cloves during mixing.
Olive Artisan Bread
Incorporate 100g chopped Kalamata olives and 1 teaspoon dried oregano for a Mediterranean-inspired loaf.
Cheddar & Jalapeño
Fold in 150g shredded sharp cheddar cheese and 1 diced jalapeño during the last stretch-and-fold.
Storage
- Store at room temperature in a bread bag or wrapped in a clean kitchen towel for up to 3 days.
- Freeze sliced bread in a freezer-safe bag for up to 3 months.
- Refresh slices in a toaster or warm oven before serving.
Serving Suggestions
Enjoy this artisan sourdough bread with:
- Butter and flaky sea salt
- Extra virgin olive oil and balsamic vinegar
- Homemade fruit preserves
- Soup or stew
- Cheese boards and charcuterie
- Avocado toast
- Grilled cheese sandwiches
- Bruschetta
- Garlic bread
- French toast made from day-old slices
Nutrition (Approximate per slice, based on 12 slices)
- Calories: 170
- Carbohydrates: 34g
- Protein: 6g
- Fat: 1g
- Fiber: 2g
- Sugar: 0g
- Sodium: 200mg
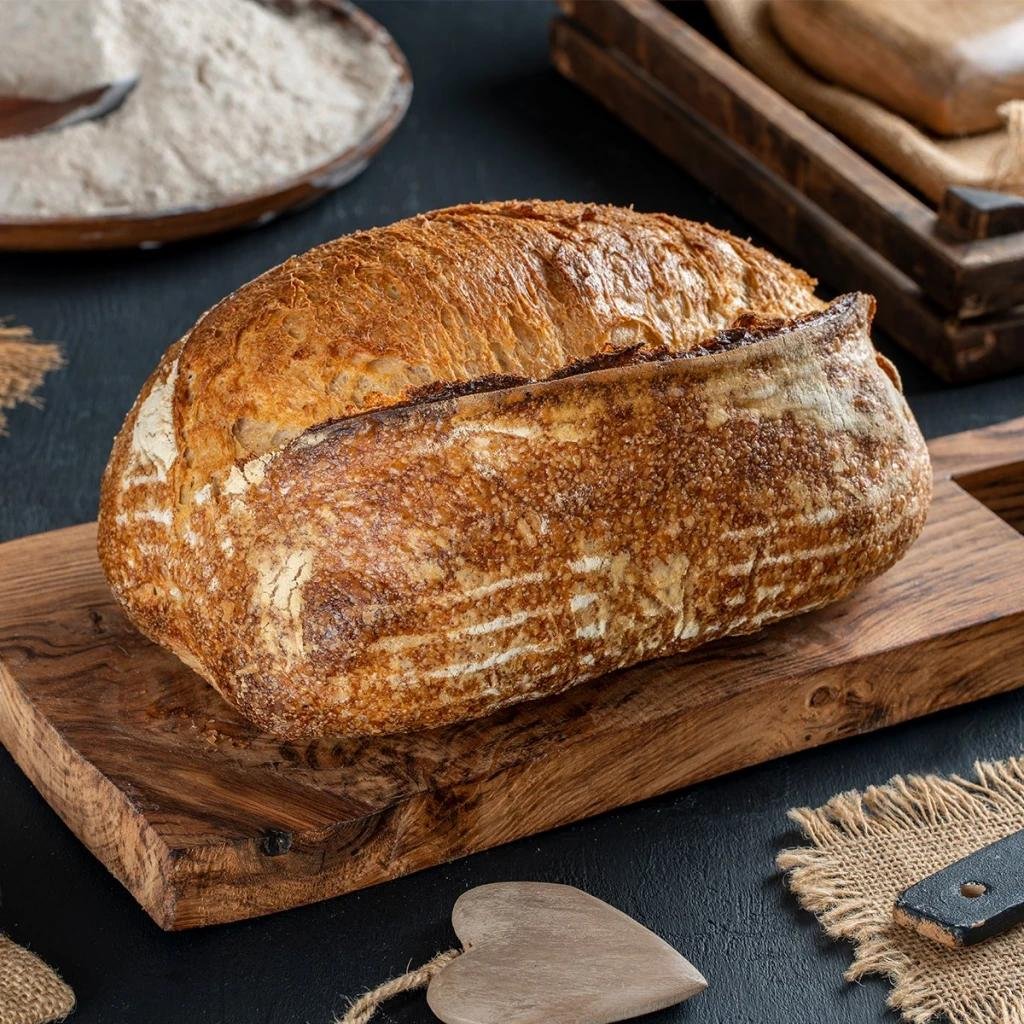
This Classic Artisan Sourdough Bread delivers everything you love about bakery-style bread: a beautifully blistered crust, an airy and chewy crumb, and the rich, complex flavor that comes from slow, natural fermentation. With a little patience and a well-fed starter, you can create an impressive loaf that’s perfect for everyday meals, special occasions, or sharing with family and friends.
