Ingredients
- 500g unbleached all-purpose flour or bread flour (used over several days)
- 500g filtered or dechlorinated water, room temperature (used over several days)
Optional
- Whole wheat flour or rye flour (helps speed up fermentation)
- Kitchen scale (recommended for accuracy)
Equipment
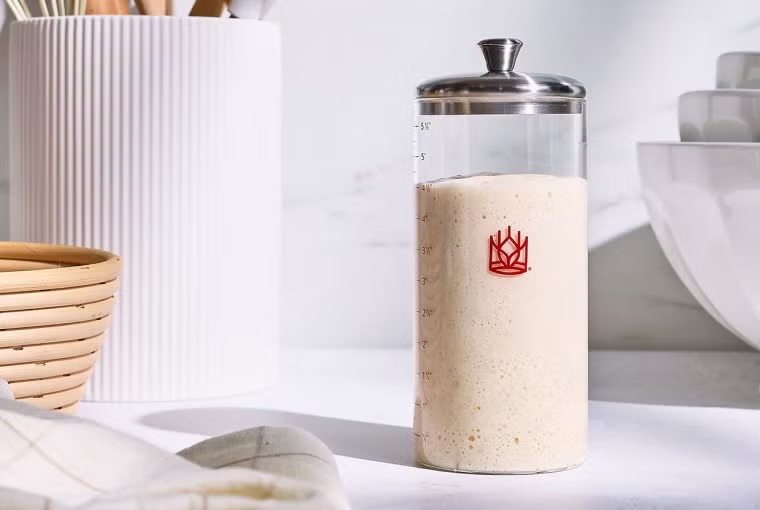
- 1 glass jar (1-quart or larger)
- Spoon or silicone spatula
- Kitchen scale
- Rubber band or marker (to track growth)
- Loose-fitting lid or clean cloth secured with a rubber band
Instructions
Day 1 – Create the Starter
- Clean and dry a large glass jar.
- Add:
- 100g flour
- 100g room-temperature water
- Stir until no dry flour remains.
- Scrape down the sides of the jar.
- Cover loosely so air can circulate while keeping dust out.
- Leave at room temperature (70–78°F / 21–26°C) for 24 hours.
What to Expect:
There may be little or no activity today. This is completely normal.
Day 2 – First Feeding
- You may notice a few bubbles or a mild aroma.
- Discard about half of the starter (around 100g).
- Add:
- 100g flour
- 100g water
- Stir thoroughly until smooth.
- Cover loosely and let rest another 24 hours.
Tip: Even if there are no bubbles, continue feeding.
Day 3 – Fermentation Begins
The starter should begin showing more bubbles and may have a slightly fruity or tangy smell.
- Discard all but 100g starter.
- Feed with:
- 100g flour
- 100g water
- Mix well.
- Leave at room temperature.
Some starters become very active today, while others take longer.
Day 4 – Building Strength
By now the starter should be rising after feeding and have many bubbles throughout.
- Discard all but 100g.
- Feed:
- 100g flour
- 100g water
- Stir until smooth.
- Mark the level with a rubber band to monitor growth.
If your kitchen is cool, fermentation may take longer.
Day 5 – Check Activity
Your starter should now:
- Double in size within 4–8 hours
- Have a pleasantly sour aroma
- Be filled with bubbles
- Look airy and spongy
Feed as before:
- Keep 100g starter
- Add 100g flour
- Add 100g water
Day 6–7 – Ready for Baking
Continue daily feedings until your starter reliably doubles after every feeding.
A mature starter should:
- Double or triple in volume
- Have thousands of bubbles
- Smell pleasantly tangy with hints of yogurt, fruit, or fresh bread
- Pass the activity test by rising consistently after feeding
Once it reaches this stage, it’s ready to bake with.
How to Feed an Established Starter
For regular baking:
- Keep 50g starter.
- Add 50g water.
- Add 50g flour.
- Mix until smooth.
- Let rise until doubled before using.
Refrigerated Starter Care
If you bake only occasionally:
- Feed the starter.
- Let it sit at room temperature for 1–2 hours.
- Refrigerate.
Feed it once every 7 days to keep it healthy.
Before baking:
- Remove from the refrigerator.
- Feed once or twice.
- Wait until it doubles in size before using.
How to Tell if Your Starter Is Ready
Your starter is ready when it:
- Doubles within 4–8 hours after feeding
- Has a pleasant sour aroma
- Is light and bubbly
- Has a fluffy, airy texture
- Produces a domed top after feeding
Common Problems & Solutions
No Bubbles After Several Days
- Move the starter to a warmer location.
- Use filtered water.
- Try feeding with some whole wheat or rye flour.
Liquid on Top (Hooch)
A gray or brown liquid may appear if the starter is hungry.
Simply pour it off (or stir it back in for a stronger sour flavor), then feed the starter.
Bad Odor
A healthy starter should smell tangy, fruity, or slightly yeasty.
If it develops pink, orange, or fuzzy mold, discard it and start over with a clean jar.
Helpful Tips
- Weigh ingredients for consistent results.
- Use room-temperature filtered water whenever possible.
- Avoid tightly sealing the jar during fermentation.
- Clean the rim of the jar after every feeding.
- Whole wheat and rye flour often help create a stronger starter in the early days.
- Patience is key—every starter develops at its own pace depending on temperature and the natural yeast in your environment.
Ways to Use Your Sourdough Starter
Once your starter is active, you can use it to make:
- Artisan sourdough bread
- Sourdough sandwich bread
- Focaccia
- Pizza dough
- Bagels
- Cinnamon rolls
- Pancakes
- Waffles
- Crackers
- Soft pretzels
- English muffins
- Brioche
- Dinner rolls
- Donuts
- Biscuits
Nutrition (Approximate, per 50g active starter)
- Calories: 55
- Carbohydrates: 11g
- Protein: 2g
- Fat: 0.2g
- Fiber: 0.5g
- Sugar: 0g
- Sodium: 1mg
A well-maintained sourdough starter is the foundation of exceptional homemade bread. With just flour, water, and a little patience, you’ll create a naturally fermented culture that can be kept alive indefinitely, producing flavorful loaves and countless baked goods for years to come.
