Ingredients
For the Candy Centers
- 3 cups crushed vanilla sandwich cookies
- 8 oz (225 g) cream cheese, softened
- 1 teaspoon vanilla extract
For the Coating
- 16 oz (450 g) white candy melts or white chocolate
- Gel food coloring in red, orange, yellow, green, blue, and purple
Decorations
- ½ cup rainbow sprinkles
- ¼ cup mini candy-coated chocolates
- ¼ cup colorful sugar crystals
- Edible glitter (optional)
Additional
- 18–20 lollipop sticks
Equipment
- Mixing bowl
- Baking sheet
- Parchment paper
- Microwave-safe bowls
- Spoon or piping bags
- Lollipop sticks
Instructions
Step 1: Prepare the Candy Mixture
In a large mixing bowl, combine the crushed sandwich cookies and softened cream cheese. Mix thoroughly until the mixture resembles a thick dough.
Add the vanilla extract and stir until fully incorporated.
Step 2: Shape the Pops
Using a cookie scoop or tablespoon, portion the mixture into equal-sized balls.
Roll each portion between your palms until smooth.
Place the balls on a parchment-lined baking sheet.
Freeze for 15–20 minutes to firm them up.
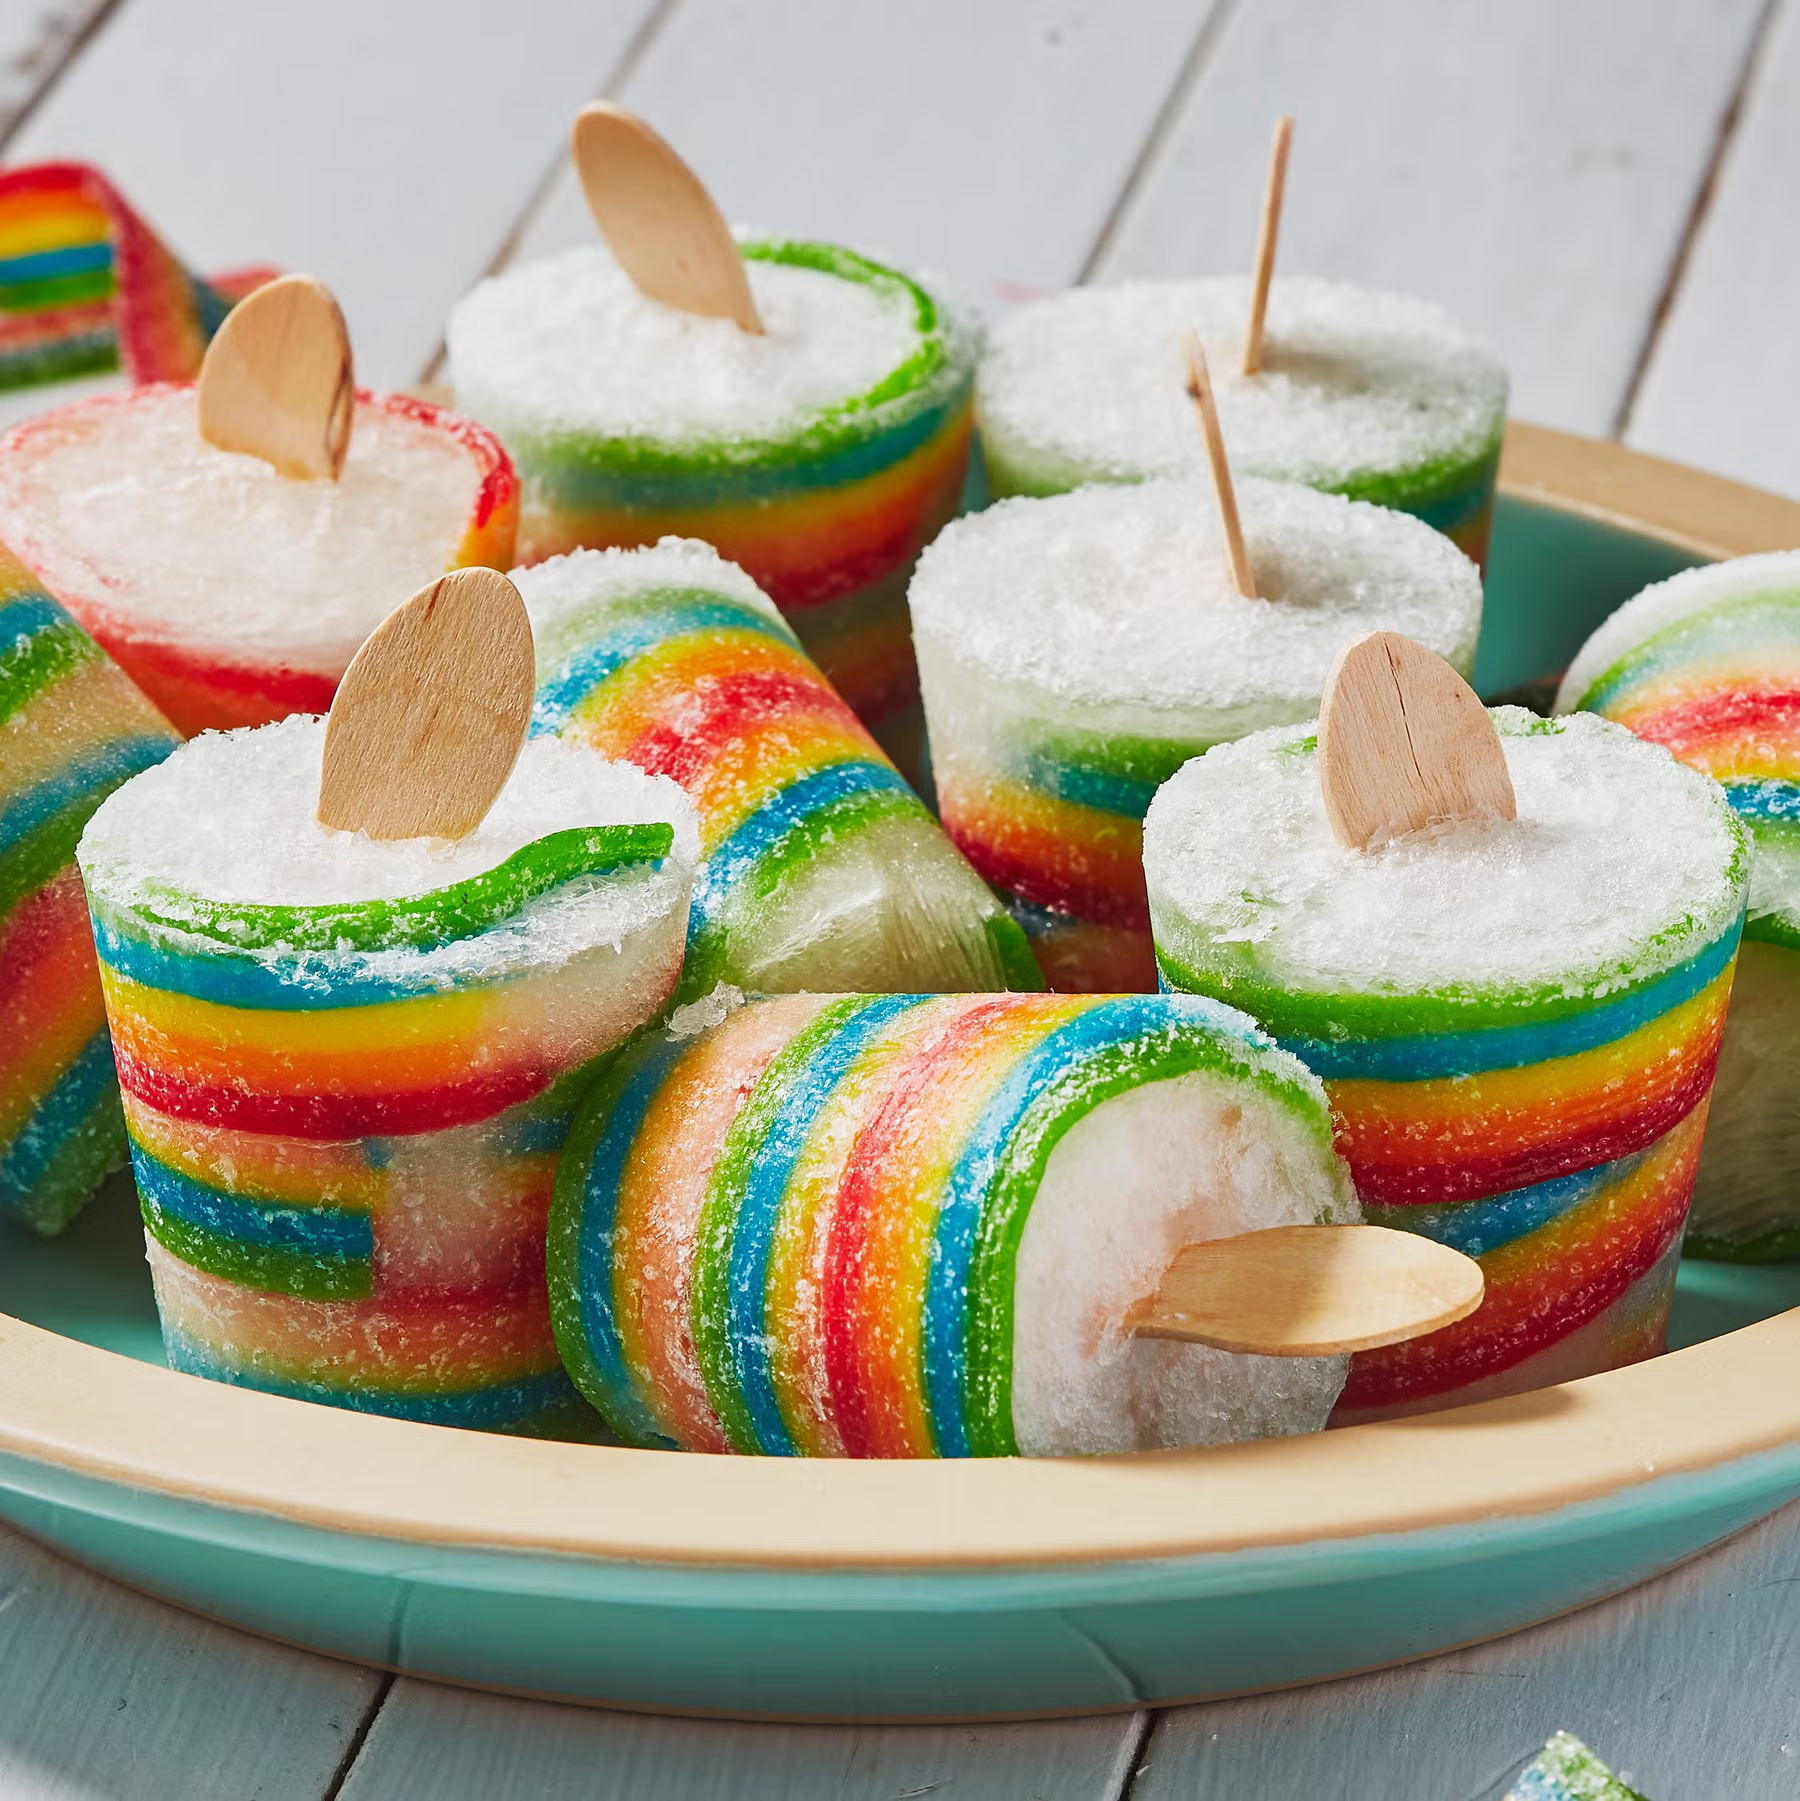
Step 3: Prepare the Rainbow Coating
Melt the white candy melts according to package directions.
Divide the melted coating evenly among six small bowls.
Tint each bowl with a different gel food color:
- Red
- Orange
- Yellow
- Green
- Blue
- Purple
Mix until smooth and vibrant.
Step 4: Insert the Sticks
Dip the tip of each lollipop stick into melted candy coating.
Insert the stick halfway into each chilled candy ball.
Return to the freezer for 5 minutes to secure the sticks.
Step 5: Coat the Pops
Dip each candy pop into one color of melted candy coating.
Allow excess coating to drip off.
For a rainbow effect, drizzle contrasting colors across the surface using a spoon or piping bag.
Step 6: Decorate
Before the coating hardens, sprinkle generously with:
- Rainbow sprinkles
- Mini candy-coated chocolates
- Colored sugar crystals
- Edible glitter
Get creative and make every pop unique.
Step 7: Set the Pops
Stand the pops upright in a foam block or place them stick-side up on parchment paper.
Allow the coating to set completely at room temperature or refrigerate for 10–15 minutes.
Serving Suggestions
- Display in colorful jars for birthday parties.
- Wrap individually as party favors.
- Add to dessert tables and candy buffets.
- Package in clear treat bags for gifts.
- Serve alongside ice cream and milkshakes.
Storage
- Store in an airtight container in the refrigerator for up to 1 week.
- Freeze for up to 2 months.
- Allow frozen pops to thaw in the refrigerator before serving.
Tips for Perfect Rainbow Candy Pops
- Use gel food coloring for vibrant colors without thinning the coating.
- Chill the candy centers well to prevent cracking.
- Decorate immediately after dipping so toppings stick properly.
- Rotate colors and decorations for a truly rainbow-inspired assortment.
- Add flavored extracts such as strawberry, lemon, or cotton candy for extra fun.
Nutrition Information (Per Pop, Approximate)
- Calories: 180
- Carbohydrates: 22g
- Protein: 2g
- Fat: 9g
- Sugar: 16g
- Sodium: 110mg
