Revive Sourdough Starter Recipe
Yield
1 Active Sourdough Starter
Prep Time
5 minutes per feeding
Revival Time
2–7 days
Difficulty
Easy
Signs Your Starter Needs Reviving
A starter may need reviving if:
- It hasn’t been fed for several days or weeks.
- It rises very little after feeding.
- It smells strongly acidic or like acetone.
- A gray or brown liquid layer (hooch) has formed.
- It takes longer than 12 hours to double.
- It produces very few bubbles.
When to Discard It
Discard the starter if you see:
- Pink streaks
- Orange discoloration
- Fuzzy mold
- Green or black spots
These are signs of contamination and the starter is no longer safe to use.
What You’ll Need
Ingredients
- Existing sourdough starter
- Unbleached bread flour or all-purpose flour
- Filtered water
Equipment
- Clean glass jar
- Kitchen scale
- Spoon or spatula
- Rubber band or marker
Step 1: Evaluate Your Starter
Remove the starter from the refrigerator.
Look for:
- Liquid on top (normal)
- Sour smell (normal)
- Dark surface (usually normal)
If there is no mold, the starter can usually be revived.
Pour off any hooch if desired, or stir it back in for a stronger sour flavor.
Step 2: Discard Most of the Starter
Place a clean jar on a scale.
Add:
- 25g old starter
Discard the rest.
Using a small amount helps reduce acidity and gives the fresh flour a better chance to nourish the yeast.
Step 3: First Feeding
Feed the starter with:
- 25g starter
- 50g water
- 50g flour
Mix thoroughly until smooth.
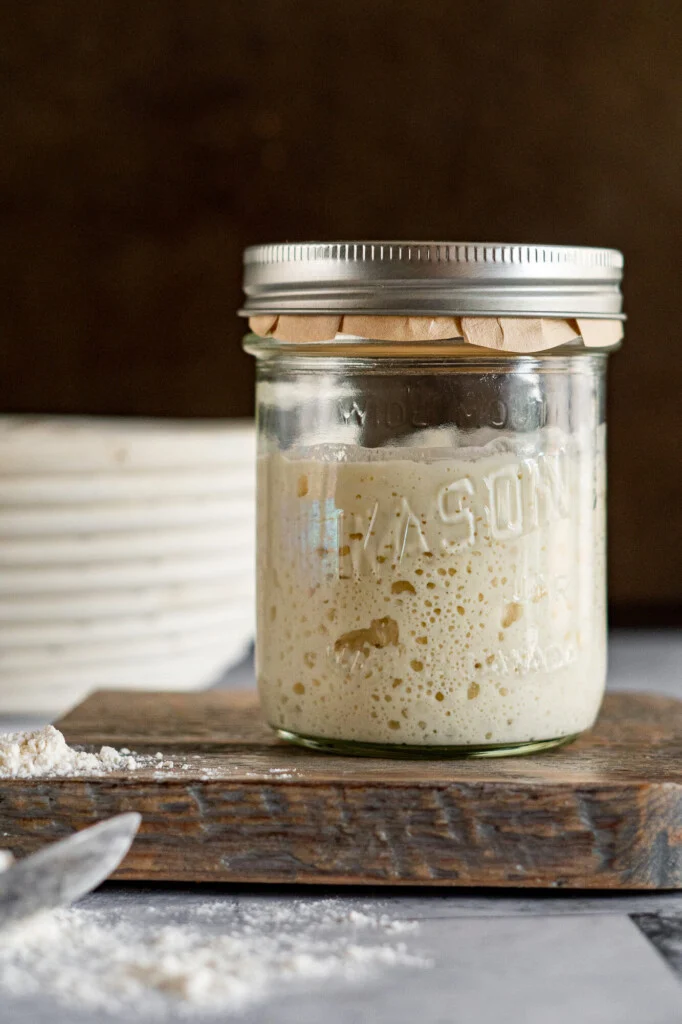
The consistency should resemble thick pancake batter.
Cover loosely.
Mark the level with a rubber band.
Leave at room temperature (72–78°F / 22–26°C).
Step 4: Observe Activity
Over the next 12–24 hours look for:
- Small bubbles
- Slight rise
- Pleasant tangy aroma
Even minimal activity is a positive sign.
Don’t worry if it doesn’t double immediately.
Step 5: Begin Regular Feedings
Every 12 hours:
Discard all but:
- 25g starter
Then feed:
- 50g water
- 50g flour
Repeat this process consistently.
Day-by-Day Revival Timeline
Day 1
You may see only a few bubbles.
This is normal.
The yeast population is beginning to recover.
Day 2
Activity often increases.
You may notice:
- More bubbles
- Slight rise
- Improved aroma
Day 3
The starter should begin expanding noticeably.
Many starters double in size at this stage.
Day 4–5
A healthy starter often doubles or triples within 4–8 hours after feeding.
The aroma becomes:
- Mildly tangy
- Fruity
- Pleasantly yeasty
Day 6–7
The starter should be fully active and ready for baking.
Feeding Schedule for Faster Recovery
For very sluggish starters:
Feed every 12 hours.
Example:
Morning
- 25g starter
- 50g water
- 50g flour
Evening
- 25g starter
- 50g water
- 50g flour
This frequent feeding helps rebuild yeast populations more quickly.
How to Know Your Starter Is Ready
Your starter is ready for baking when it:
- Doubles or triples in volume
- Reaches peak height within 4–8 hours
- Has plenty of bubbles throughout
- Smells pleasantly sour
- Passes the float test (optional)
Extra Tips for Reviving a Weak Starter
Use Warm Water
Water around 78°F (26°C) encourages fermentation.
Keep It Warm
Ideal temperature:
- 75–80°F (24–27°C)
Cold kitchens slow recovery.
Use Bread Flour
Bread flour often provides more nutrients than all-purpose flour and can help speed revival.
Try Whole Wheat Flour
Replacing 25–50% of the flour with whole wheat flour can boost microbial activity.
Example:
- 25g bread flour
- 25g whole wheat flour
Common Problems
Starter Smells Like Acetone
The starter is hungry.
Feed more frequently.
No Rise After Several Days
Try:
- Warmer temperatures
- Fresh flour
- Twice-daily feedings
Starter Rises Then Collapses Quickly
This usually indicates the starter is active but needs more frequent feedings.
Hooch Keeps Forming
Your starter is consuming food faster than you’re feeding it.
Increase feeding frequency.
Long-Term Maintenance
Room Temperature
Feed daily:
- 1:1:1 ratio (starter:water:flour)
or
- 1:2:2 ratio for less frequent feedings
Refrigerator Storage
Feed the starter.
Allow it to become active for a few hours.
Store in the refrigerator.
Feed once every 1–2 weeks.
