Ingredients
Day 1
- 60g (½ cup) whole wheat flour
- 60g (¼ cup) filtered water
Days 2–14
- 60g (½ cup) bread flour or all-purpose flour
- 60g (¼ cup) filtered water
Equipment Needed
- Large glass jar (at least 1 quart capacity)
- Kitchen scale
- Silicone spatula or spoon
- Rubber band or marker
- Loose-fitting lid or cloth cover
Day-by-Day Instructions
Day 1: Create the Starter
In a clean glass jar, combine:
- 60g whole wheat flour
- 60g filtered water
Mix thoroughly until a thick paste forms.
Scrape down the sides of the jar and mark the mixture’s height with a rubber band.
Cover loosely and place in a warm location between 70–78°F (21–26°C).
Leave undisturbed for 24 hours.
What to Expect
At this stage, there may be little or no visible activity.
Day 2: First Feeding
You may notice a few tiny bubbles.
Discard half of the mixture.
Add:
- 60g flour
- 60g water
Mix thoroughly until smooth.
Cover loosely and return to the warm spot.
What to Expect
A few bubbles may appear, but significant activity is not yet necessary.
Day 3: Signs of Life
The starter often becomes surprisingly active around Day 3.
You may notice:
- Numerous bubbles
- Slight rise
- Mild sour aroma
Discard half.
Feed with:
- 60g flour
- 60g water
Mix thoroughly.
What to Expect
This burst of activity is often temporary and may slow down over the next couple of days.
Day 4: The Quiet Stage
Many beginners think their starter has died at this point.
Don’t worry.
Activity often decreases as the microbial balance develops.
Discard half.
Feed:
- 60g flour
- 60g water
Mix and cover.
What to Expect
The starter may appear sluggish with fewer bubbles.
Continue feeding consistently.
Day 5: Building Strength
The yeast and bacteria colonies continue multiplying.
Discard half.
Feed:
- 60g flour
- 60g water
Mix well.
What to Expect
Bubbles should begin returning and the aroma becomes pleasantly tangy.
Day 6: More Consistent Fermentation
By now you may see:
- Small rise after feeding
- More bubbles
- Slight dome shape on top
Discard half.
Feed again.
What to Expect
The starter begins developing predictable fermentation patterns.
Day 7: Evaluate Progress
Feed the starter as usual.
Observe whether it:
- Doubles in size
- Produces lots of bubbles
- Smells pleasantly sour
If not, continue daily feedings for several more days.
Many starters need 10–14 days to fully mature.
Days 8–14: Strengthening the Starter
Continue daily feedings.
At this stage, the starter should:
- Rise predictably after feeding
- Double or triple in volume
- Develop a pleasant sour aroma
- Show bubbles throughout the jar
As activity increases, consider feeding twice daily.
How to Tell When Your Starter Is Ready
Your starter is ready for baking when it:
Doubles in Size
After feeding, it should double within 4–8 hours.
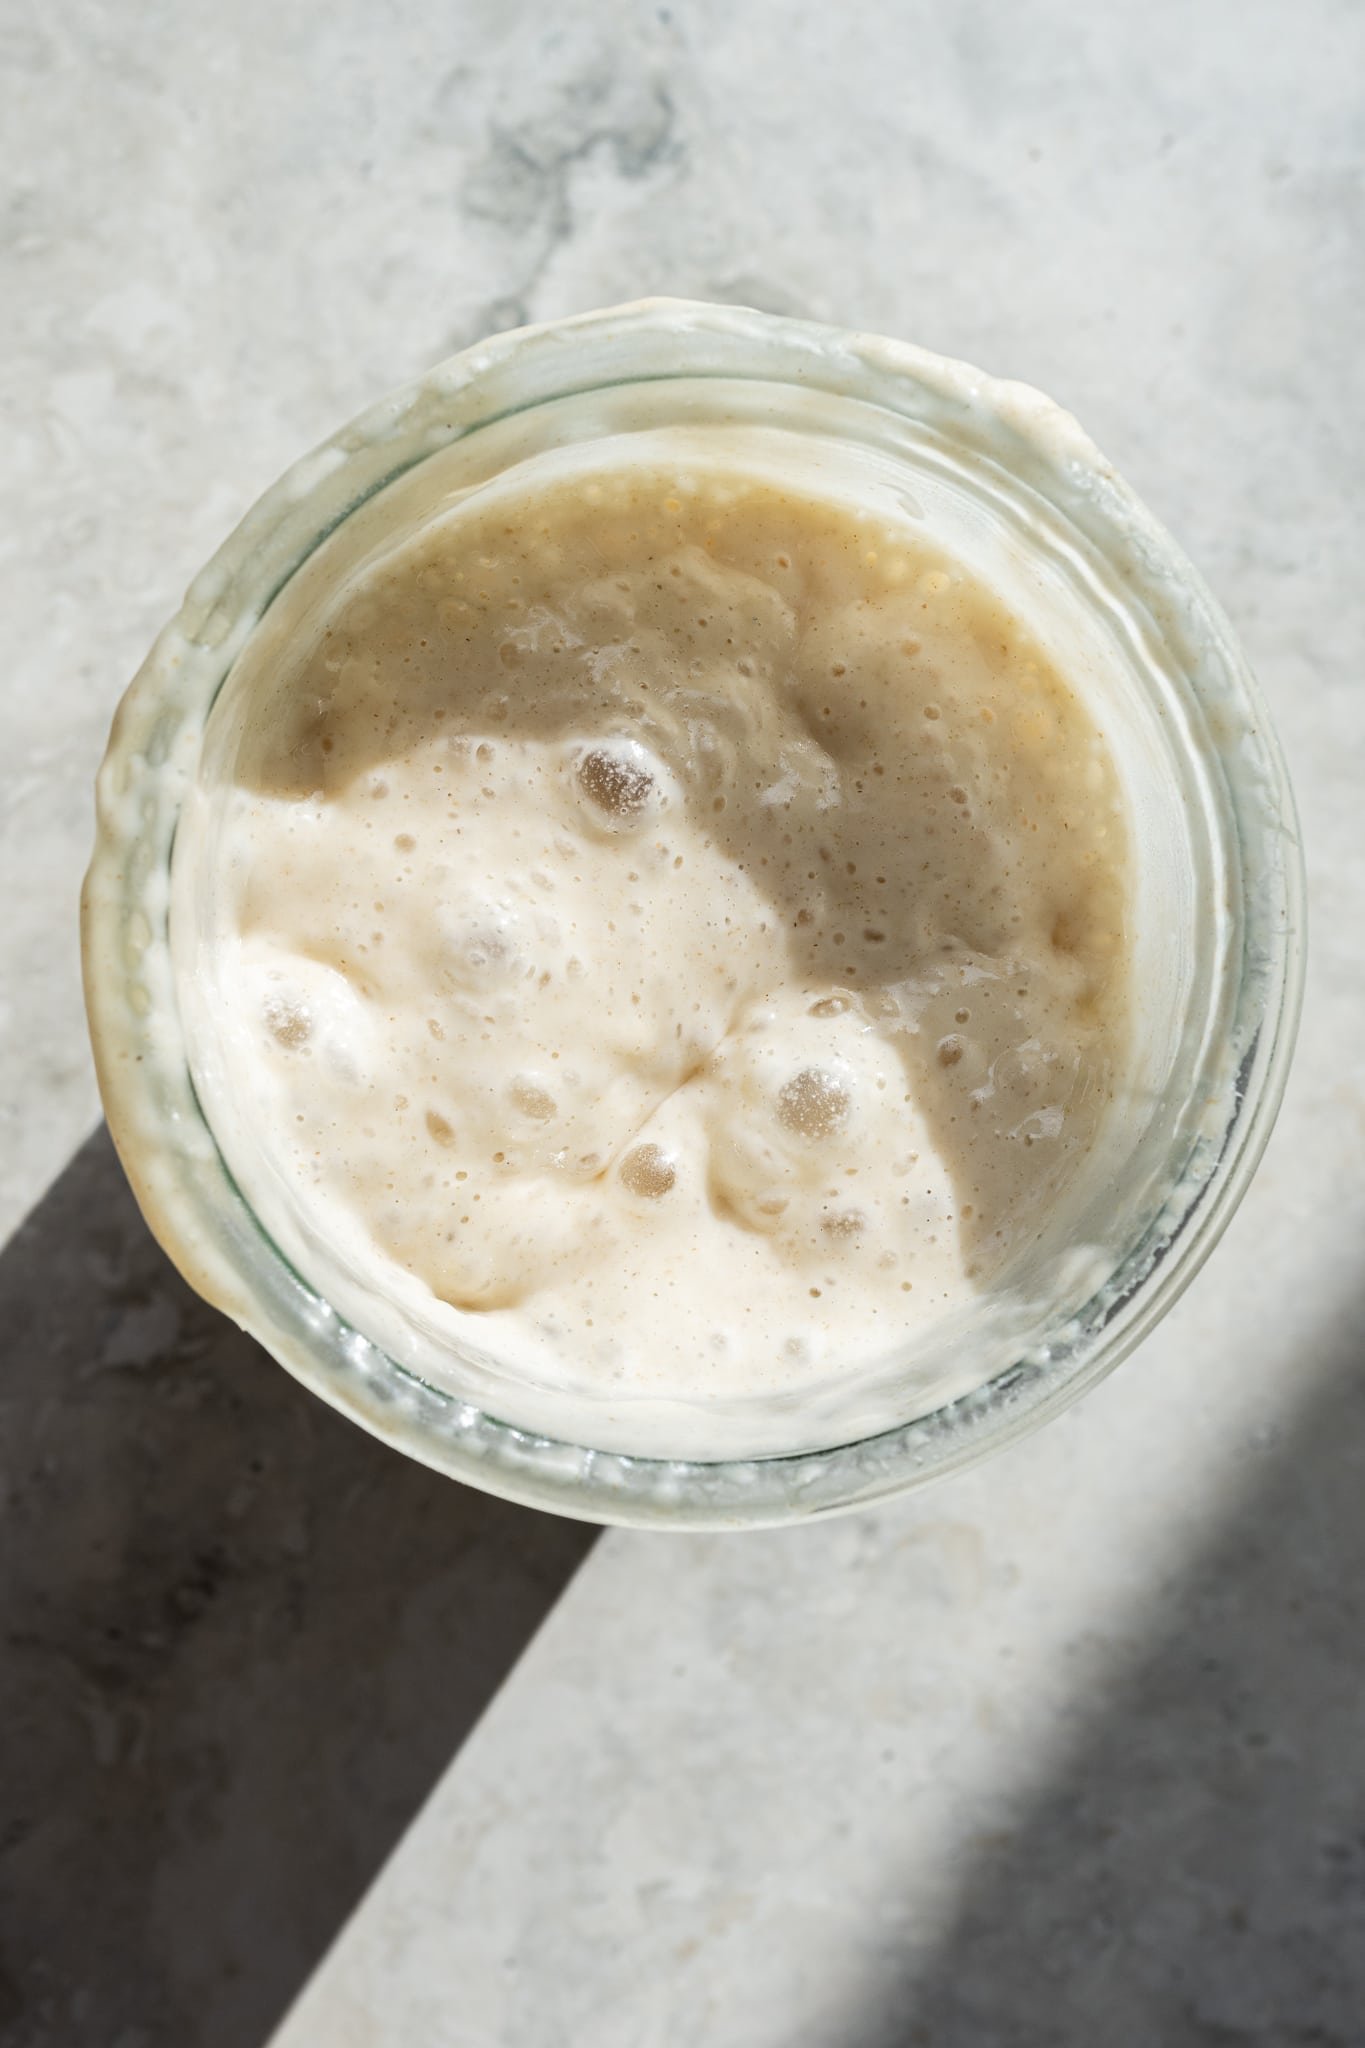
Contains Plenty of Bubbles
Look for bubbles throughout the mixture, not just on the surface.
Has a Pleasant Aroma
A healthy starter smells:
- Tangy
- Fruity
- Slightly yeasty
Passes the Rise Test
Feed the starter and monitor its growth.
If it consistently doubles or triples, it’s ready.
Feeding Schedule
For Daily Bakers
Keep the starter at room temperature.
Every 24 hours:
- Discard half.
- Feed equal weights flour and water.
- Mix thoroughly.
For Occasional Bakers
Store the starter in the refrigerator.
Once per week:
- Remove from fridge.
- Feed normally.
- Allow to sit at room temperature for 2 hours.
- Return to refrigerator.
How to Prepare Starter for Baking
One day before baking:
Morning
Feed your starter.
Afternoon
Feed again if necessary.
Evening
Use when it reaches peak activity.
The starter should be:
- Puffy
- Bubbly
- Doubled in size
Common Problems and Solutions
Starter Isn’t Rising
Possible causes:
- Cold temperatures
- Weak flour
- Young starter
Solution:
- Move to a warmer location.
- Continue feeding consistently.
- Be patient.
Hooch (Liquid on Top)
A gray liquid may form.
This is called hooch and indicates hunger.
Solution:
- Stir it in or pour it off.
- Feed more frequently.
Strong Smell
A starter may smell:
- Sour
- Fruity
- Vinegary
This is generally normal.
Continue regular feedings.
Mold
If you see:
- Pink streaks
- Orange discoloration
- Fuzzy mold
Discard the starter immediately and begin again.
Pro Tips for Success
Use Filtered Water
Chlorine can slow fermentation.
Keep a Consistent Temperature
70–78°F (21–26°C) is ideal.
Use Whole Wheat Flour Initially
Whole grains contain more natural yeast and nutrients.
Weigh Ingredients
A kitchen scale provides the most accurate results.
Use a Clean Jar
Clean containers help prevent contamination.
Ways to Use Sourdough Starter
Once active, your starter can be used to make:
- Artisan Sourdough Bread
- Sourdough Sandwich Bread
- Sourdough Focaccia
- Sourdough Pizza Dough
- Sourdough Bagels
- Sourdough Pancakes
- Sourdough Waffles
- Sourdough Pretzels
- Sourdough Cinnamon Rolls
- Sourdough Crackers
Why You’ll Love This Sourdough Starter
✔ Made with only flour and water
✔ Naturally fermented
✔ No commercial yeast required
✔ Creates bakery-quality bread
✔ Can be maintained indefinitely
✔ Produces incredible flavor and texture
✔ Perfect foundation for all sourdough baking
