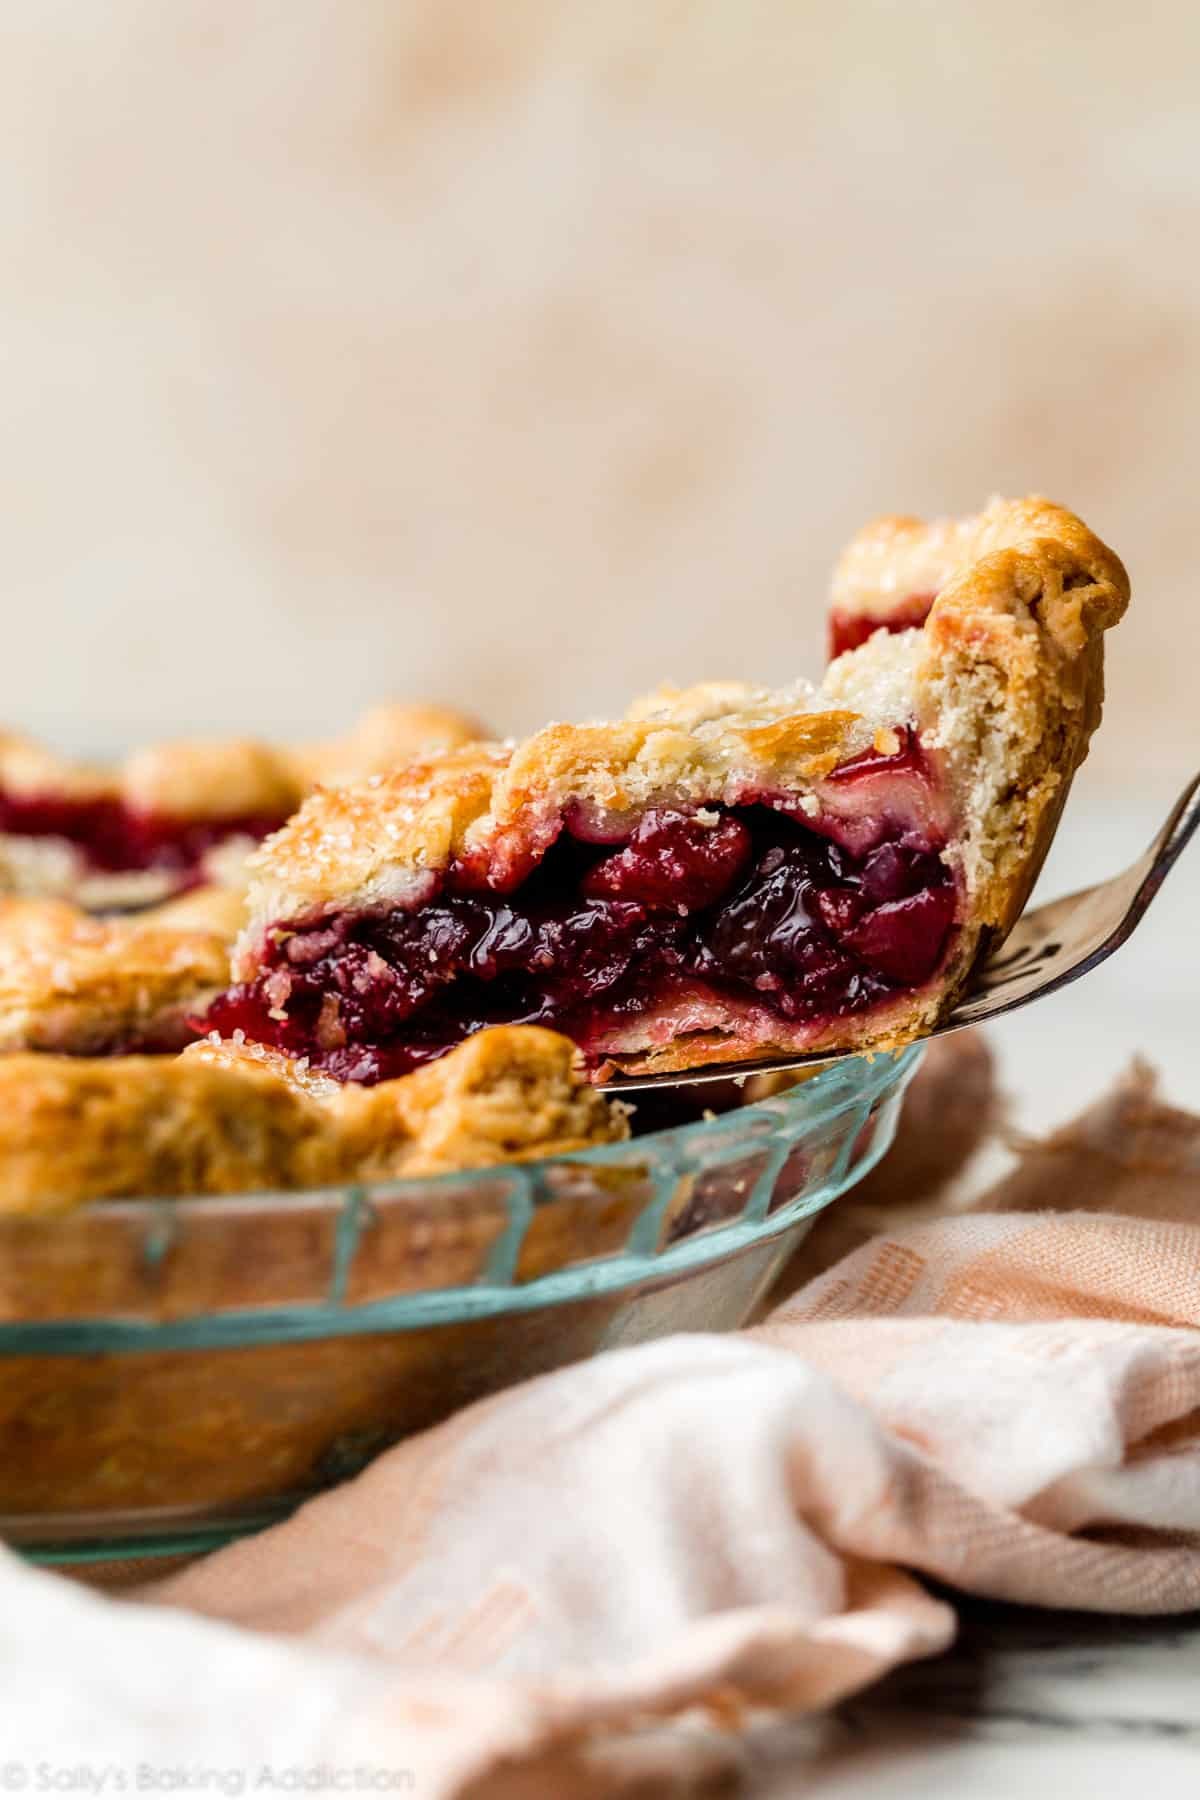
Homemade Cherry Pie Recipe
Recipe Information
Prep Time: 45 minutes
Chill Time: 2 hours
Bake Time: 55–65 minutes
Total Time: 3 hours 50 minutes
Yield: 8–10 servings
Ingredients
For the Pie Crust
- 2½ cups (315g) all-purpose flour
- 1 tablespoon granulated sugar
- 1 teaspoon salt
- 1 cup (226g) unsalted butter, very cold and cubed
- 6–8 tablespoons ice water
For the Cherry Filling
- 6 cups (900g) fresh or frozen pitted cherries
- ¾ cup (150g) granulated sugar
- ¼ cup (50g) brown sugar
- ¼ cup (32g) cornstarch
- 2 tablespoons lemon juice
- 1 teaspoon vanilla extract
- ¼ teaspoon almond extract
- ¼ teaspoon salt
- 1 tablespoon unsalted butter
For the Egg Wash
- 1 large egg
- 1 tablespoon milk
Optional Toppings
- Coarse sugar
- Vanilla ice cream
- Fresh whipped cream
Instructions
Step 1: Prepare the Pie Dough
- In a large bowl, whisk together the flour, sugar, and salt.
- Add the cold butter cubes.
- Using a pastry cutter or your fingertips, work the butter into the flour until the mixture resembles coarse crumbs with pea-sized pieces of butter.
- Add ice water one tablespoon at a time, mixing gently until the dough begins to come together.
- Divide the dough into two equal portions.
- Shape each into a disk.
- Wrap in plastic wrap and refrigerate for at least 2 hours.
Step 2: Make the Cherry Filling
- In a large saucepan, combine:
- Cherries
- Granulated sugar
- Brown sugar
- Cornstarch
- Lemon juice
- Salt
- Cook over medium heat, stirring frequently.
- Continue cooking until the mixture thickens and becomes glossy, about 8–10 minutes.
- Remove from heat.
- Stir in vanilla extract and almond extract.
- Add the tablespoon of butter and stir until melted.
- Allow the filling to cool completely.
Step 3: Roll Out the Bottom Crust
- Preheat the oven to 425°F (220°C).
- Remove one dough disk from the refrigerator.
- Roll it into a 12-inch circle on a lightly floured surface.
- Transfer it to a 9-inch pie dish.
- Gently press into the bottom and sides.
- Trim any excess dough.
Step 4: Fill the Pie
- Spoon the cooled cherry filling into the crust.
- Spread evenly.
Step 5: Create the Top Crust
Lattice Method
- Roll the second dough disk into a 12-inch circle.
- Cut into 1-inch strips.
- Arrange half the strips across the pie.
- Weave the remaining strips over and under to create a lattice pattern.
- Trim and crimp the edges.
Full Crust Method
- Place the rolled dough over the filling.
- Trim excess dough.
- Seal and crimp edges.
- Cut several slits in the top for steam vents.
Step 6: Apply Egg Wash
- Whisk together the egg and milk.
- Brush over the top crust.
- Sprinkle with coarse sugar if desired.
Step 7: Bake
- Place the pie on a baking sheet to catch any drips.
- Bake at 425°F (220°C) for 20 minutes.
- Reduce the oven temperature to 375°F (190°C).
- Continue baking for 35–45 minutes.
- The crust should be deep golden brown and the filling bubbling.
If the edges brown too quickly, cover them loosely with foil.
Step 8: Cool
- Remove the pie from the oven.
- Allow it to cool for at least 3–4 hours before slicing.
This helps the filling set properly and prevents a runny pie.
Expert Tips
Use Tart Cherries
Montmorency cherries provide the best balance of sweetness and tartness.
Chill the Dough
Cold dough creates a flakier crust.
Cool the Filling
Never add hot filling to raw pie dough.
Let the Pie Rest
Cooling completely ensures clean slices and a perfectly set filling.
Variations
Cherry Almond Pie
Increase almond extract to ½ teaspoon and sprinkle sliced almonds on top.
Cherry Berry Pie
Replace 2 cups of cherries with blueberries or raspberries.
Chocolate Cherry Pie
Add ½ cup mini chocolate chips to the filling.
Crumb-Topped Cherry Pie
Replace the top crust with a buttery streusel topping.
Storage
Room Temperature
Store covered for up to 2 days.
Refrigerator
Store for up to 5 days.
Freezer
Freeze baked pie for up to 3 months.
Serving Suggestions
Serve with:
- Vanilla ice cream
- Fresh whipped cream
- Hot coffee
- Chocolate drizzle
- Toasted almonds
This Homemade Cherry Pie is loaded with juicy cherries, wrapped in a flaky golden crust, and filled with the nostalgic flavors of a classic homemade dessert. It’s a pie that’s guaranteed to become a family favorite for generations.
